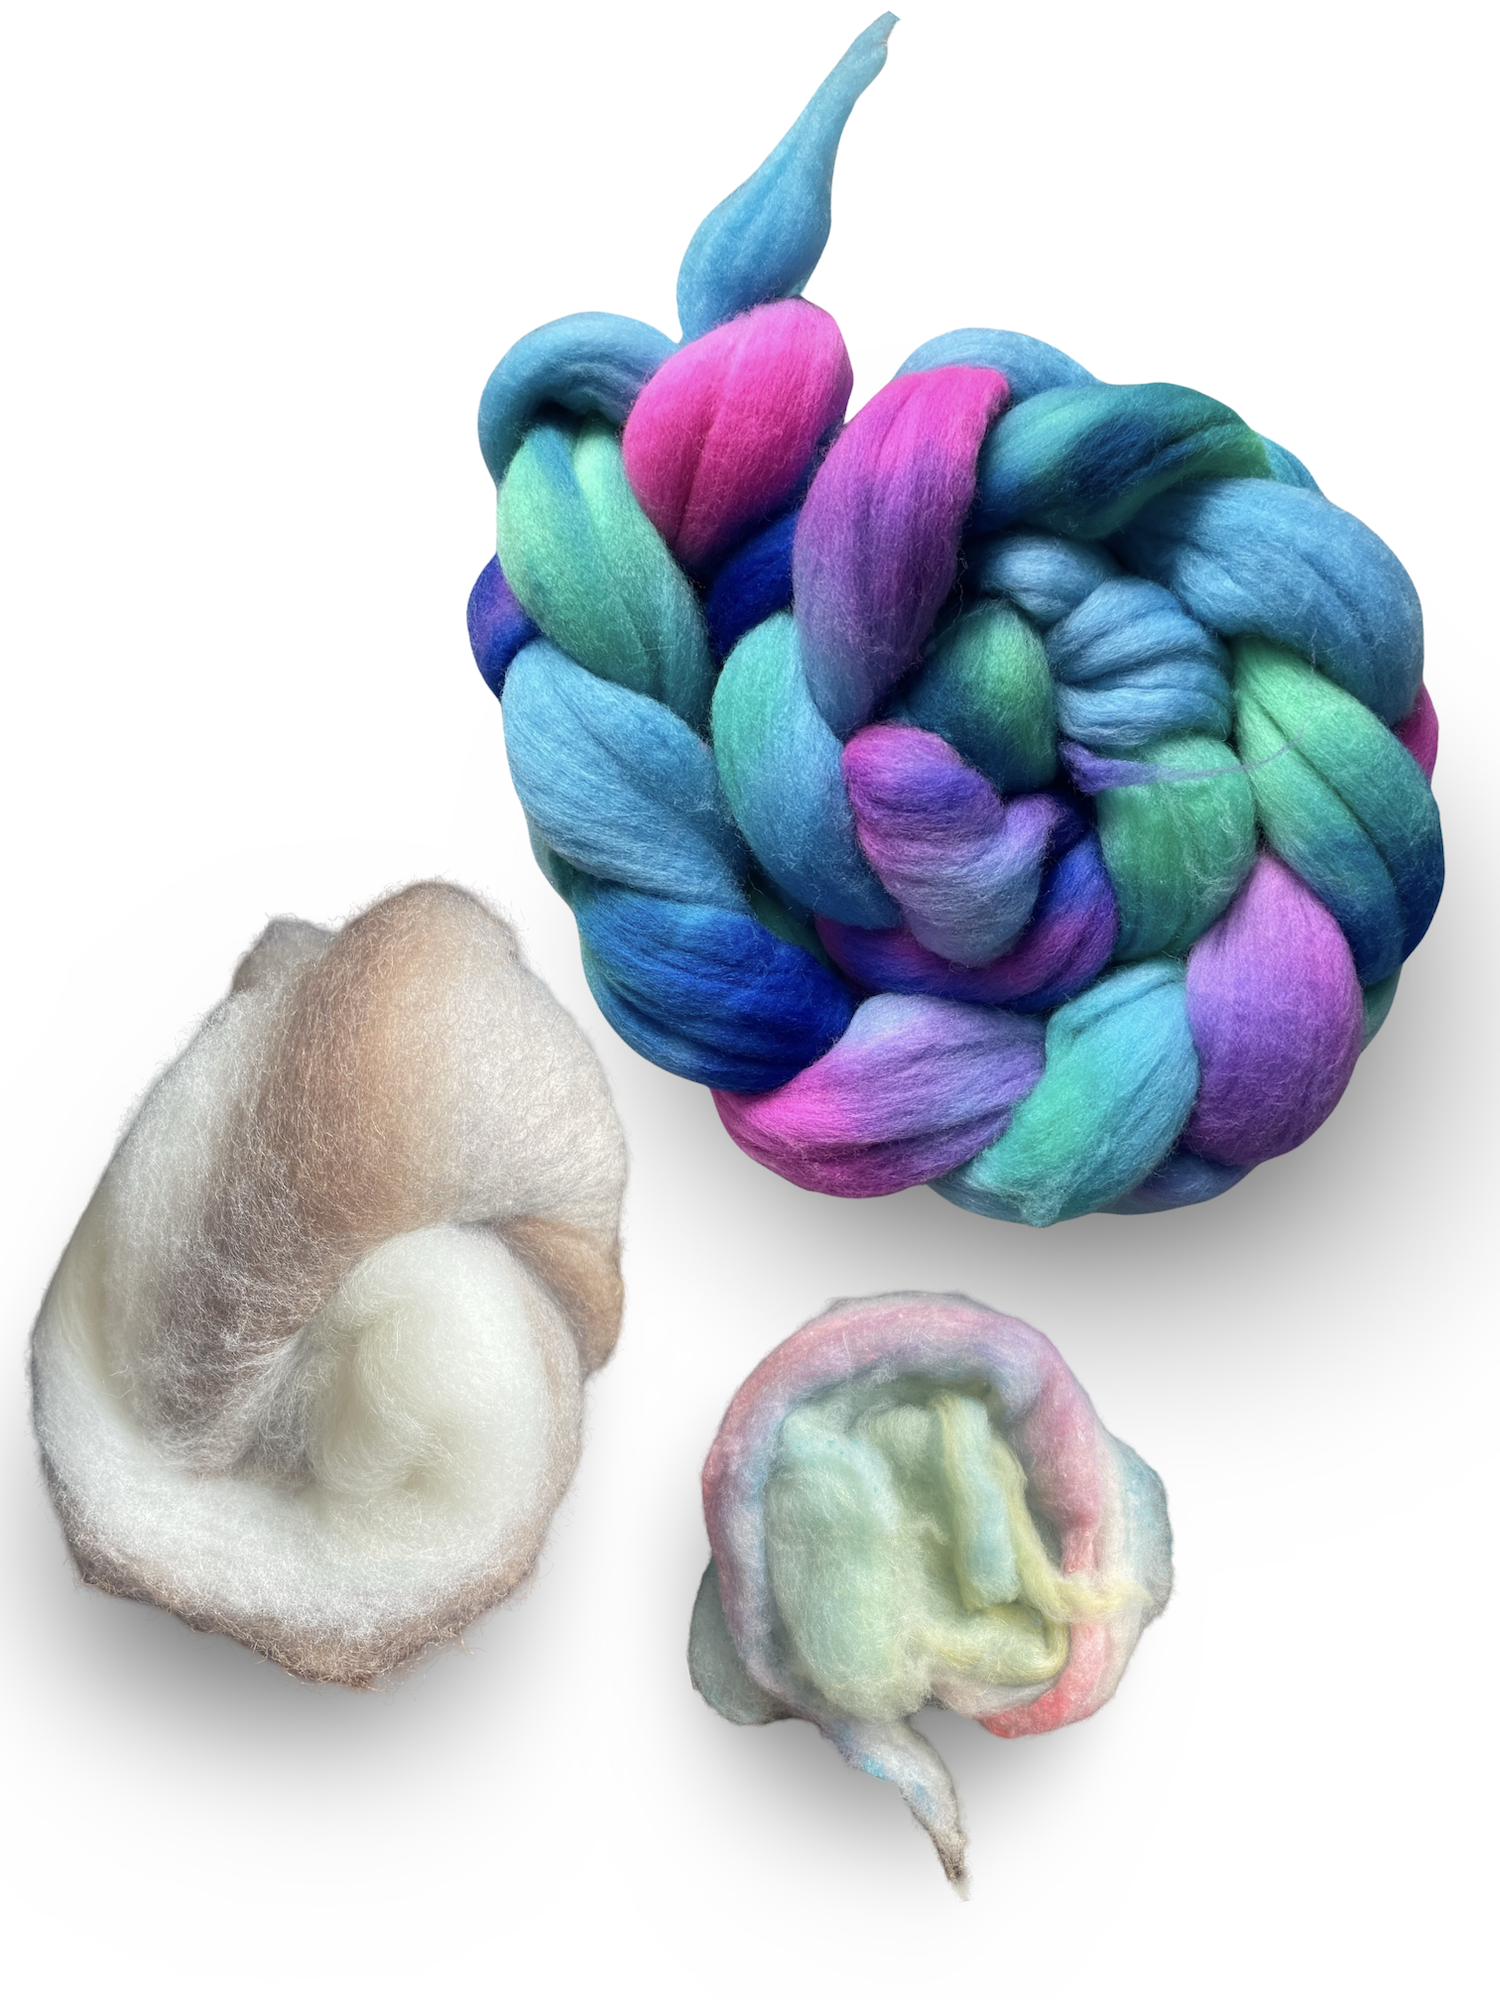
Chain ply yarn spinning- tips and tricks
Chain ply yarn spinning-how to
Introduction
There are many ways to spin a yarn, but plying is where it's at. For those new to the craft, I'll explain what ply means and why it's so important. I'll also walk you through some simple examples of how to make yarn plies in different situations. So let's get started!
How to ply, and why you need to do it.
What is ply?
Ply is the number and thickness of the strands that are twisted together to form a single strand. The plying process can be used to create various effects and textures, depending on how many plies are combined.
When you spin a wheel, you're creating single-ply yarn; after plying it, you'll have two single-plied strands that together make one doubled-up strand (or "ply"). You can also combine three or more individual plies into one thicker strand—this is known as a multi-ply yarn. There are lots of different ways to ply your yarn, but they all fall into two categories: chain ply and twined ply.
Which type should I use?
Both types of plied yarns have their own pros and cons—if you're looking for something with durability or strength (as in sock knitting), then chain plies may be best for you. On the other hand if you want something soft that will wear out quickly (like baby clothes), then twined knits might be better suited for your project needs!
Two ply will give you a soft slightly textured yarn ( depending on the evens of your singles with a mixed color them if spinning from a colored braid.
Chain ply will produce a thicker more structured yarn which will keep the colors in sections if spun in sections. This yarn is great for structured stitches and may take a bit more break in time.
Where as two ply you split your fiber supply in two and then ply in the opposite direction for your final yarn, chain ply you spin all of the fiber into one single ply and then spin onto a separate bobbin. It’s easier to see than explain so please watch these videos.
Conclusion
I hope this article has helped you understand the basics of ply yarn spinning. It's a great technique that can add interest and depth to your knitting projects, but it can be intimidating if you're not familiar with it. I encourage you to keep trying until you get it right! If all else fails, reach out to me on social media or leave a comment below--I'd love to help out any way I can.
How To Chain Ply Yarn Without Losing Your Mind (Or Your Yarn)
Picture this: You've been spinning like a 21st-century Rumpelstiltskin, and you've created the most gorgeous single strand of yarn that humanity (or at least, your knitting group) has ever seen. Now, you're ready to turn that delicate strand into a sturdy, trice-as-nice three-ply yarn without tangles, tears, or tantrums. Enter Chain Ply
Step 1:
Like any new spinning project, you and your yarn need to start on the right foot. Make sure you’ve got a clear space, a patient mindset, and maybe a glass of your favorite adult beverage or herbal tea. This could take a while.
Step 2:
If your yarn were a dance, it would be the twist. I'm serious! You need to add enough twist to keep it lively but not so much that it curls up on itself like a moody teenager.
Step 3:
Begin by threading your single yarn through the orifice of your spinning wheel . Tie it onto your leader and start treadling slowly.
Step 4:
Hold your yarn and let a small loop form. Slip your fingers through the loop to grab the yarn coming from your bobbin. This little move is the start of your chain, or as I like to call it,
Step 5:
Keep the twist coming as you repeat this loop-through-loop action. It's like crocheting with your hands.
Step 6:
It’s all about the rhythm, Ply, pull through, ply, pull through. Find a pace that works for you and your yarn, and before you know it, you'll be in the zone, chain plying like they're about to outlaw spinning wheels.
Step 7:
Is your yarn getting kinky or breaking like your patience? Deep breath. Recall the zen of Mr. Miyagi—smooth motions, steady pace. Remember, this is supposed to be fun. Laugh it off and keep going.
Step 8:
Once you’ve reached the end of your yarn (hooray), secure the end through the last loop to finish off your masterpiece. You’ve officially chained that ply like a boss.
Learn to Spin Yarn Step ply step with printable homework ! Try your first month on the house! Use code SPINWHATIWANT at check out.
Step-by-Step Dream Yarn ( 6 module Course) Your monthly guide to spinning success—from fiber prep to finished skein. Whether you're brand new or leveling up, this course breaks it down into bite-sized lessons, pro tips, and video walkthroughs that grow with you. Learn the exact steps to create dreamy, balanced, custom yarns—with confidence and style.


