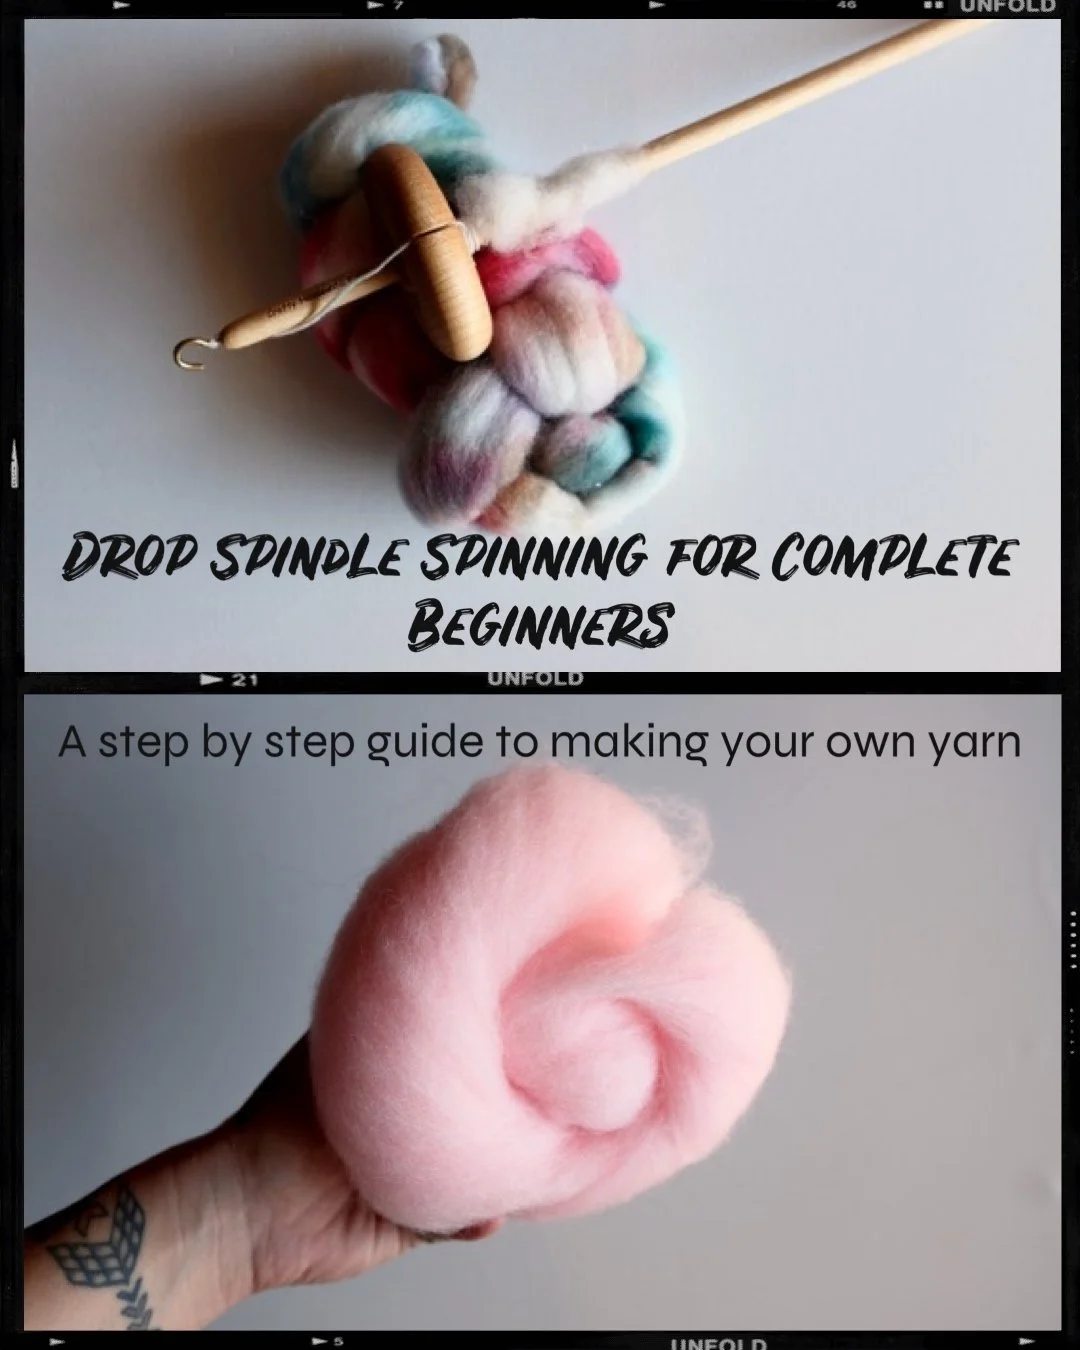
Drop Spindle Spinning for Complete Beginners: A Step-by-Step Guide to Making Your Own Yarn.
Drop Spindle Spinning for Complete Beginners: From Zero to Yarn Hero
Hey there, fiber friends and future spinners! So, you've decided to dive into the wild world of drop spindle spinning. Awesome choice! Whether you're a hobbyist, a DIY enthusiast, or just someone longing to dip their toes into the magical realm of fiber arts, we've got you covered. Think of this guide as your trusty handbook, your seasoned cheerleader, and your no-BS buddy, all rolled into one. Ready to spin your way into greatness? Let's do this.
What Even is a Drop Spindle?
Okay, before you start picturing some sort of complicated device , let's clear the air. A drop spindle is a handheld tool that lets you spin fibers like wool into yarn—all without needing a big ol' spinning wheel. It's like the punk rock version of spinning: simple, portable, and super cool.
Why Should You Even Care?
First, let's get real. Learning to spin with a drop spindle is like discovering the secret sauce to endless DIY projects. You get to create unique, handspun yarn that screams, "I made this!" Plus, it’s meditative, connects you to ancient crafting traditions, and gives you serious bragging rights in any crafty circle.
Meet Feral Scene
Not to toot our own horn (okay, maybe a little), but Feral Scene is your one-stop shop for all things fiber arts. From online courses to our sweet spinning fiber subscriptions, we’ve got the goods to turn your fiber dreams into reality.
Drop Spindles 101: Know Your Gear
The Basics
Definition & History: A drop spindle has been around since, like, forever. Ancient civilizations used this tool for their textile needs. Basically, it’s a spindle that you literally drop to add twist to the fiber (hence the name).
Types: There are two main types—top whorl and bottom whorl. Top whorl spindles have the whorl at the top, making them great for beginners. Bottom whorl spindles? Well, the whorl's at the bottom. Also a great option but a bit harder to “park and twist” more on that later.
Choosing Your Weapon: For all you newbies, start with a top whorl spindle. It’s easier to control and let's face it, we could all use an easy win when we're starting out.
Gear Up: What You Need
Essentials
Drop Spindle: of your choice.
Wool Fiber: We'll get into that nitty-gritty in a second.
Wool Fiber Menu
Romney: Easy to spin. Think of it as the training wheels of wool.
Cheviot: Beginner-friendly and forgiving, like your grandma.
Corriedale: The golden retriever of fibers—reliable and easygoing.
Jacob: A bit more niche, but great for those looking to go a tad exotic.
Alpaca: Soft AF. For when you want to feel super fancy. Shorter fibers and not great to learn on.
Merino: Very popular and good to learn on but it is a bit grippier than something like Corriedale.
Wool Forms
Roving: Long, continuous strips of wool. Ideal for spinning.
Batting: Fluffier and less structured, but still totally usable.
Raw Wool: Unprocessed and a bit of a wild ride. Save this for later.
Level 1: Getting Started
Setup
Leader: Create a starting thread to get the whole show rolling.
Attach the Fiber: Secure the wool to your spindle. Channel your inner fiber ninja. ( What I teach and prefer)
Level 2: Spinning Like a Boss
Spin Away
Add Twist: Spin the spindle and make that wool twist tighter than your Aunt Karen’s holiday sweaters.
Park It: Stop and hold the spindle to draft more fiber without adding extra twist. Perfect for beginners.
Drafting: Gently pull the wool to create a consistent thickness. You’ll get the hang of it with practice!
Winding On: Roll the spun yarn onto the spindle shaft. Keep it neat!
The Struggle is Real: Tips for Success
Avoid Rookie Mistakes
Over-twisting: Looks like ramen noodles. Not cute.
Under-twisting: Falls apart easily .
Pro Tips
Embrace imperfection. Seriously. Your first yarn won't win beauty contests, and that's okay.
Practice daily, even if it's just for a few minutes.
Become a Plying Powerhouse
Intro to Plying
2-Ply: Combine two singles for balanced yarn.
Navajo Chain Ply: Great for preserving color patterns. Fancy and fun!
Finishing Touches
I highly recommend using a niddy noddy to make a skeins and to wet set your yarn. You can also go the route below.
Make a Center-Pull Ball: For easier plying.
Wash and Finish: Set the twist and make your yarn spankin’ gorgeous.
Conclusion: Keep On Spinning
Alright, you’ve got the basics down. Now it’s time to keep practicing, make messes, and spin some killer yarn. Remember, no one becomes a master overnight, so give yourself some grace.
And hey, if you want to level up even more, sign up for Feral Scene's online fiber arts courses and subscribe to our fiber and yarn subscriptions. You'll thank us later.
Join our fiber arts support group here on facebook
Click here for my extensive video play list of free spinning content.


