Sun-Kissed Fibers: A Guide to Solar Dyeing Yarn
Sun-Kissed Fibers: A Guide to Solar Dyeing Yarn
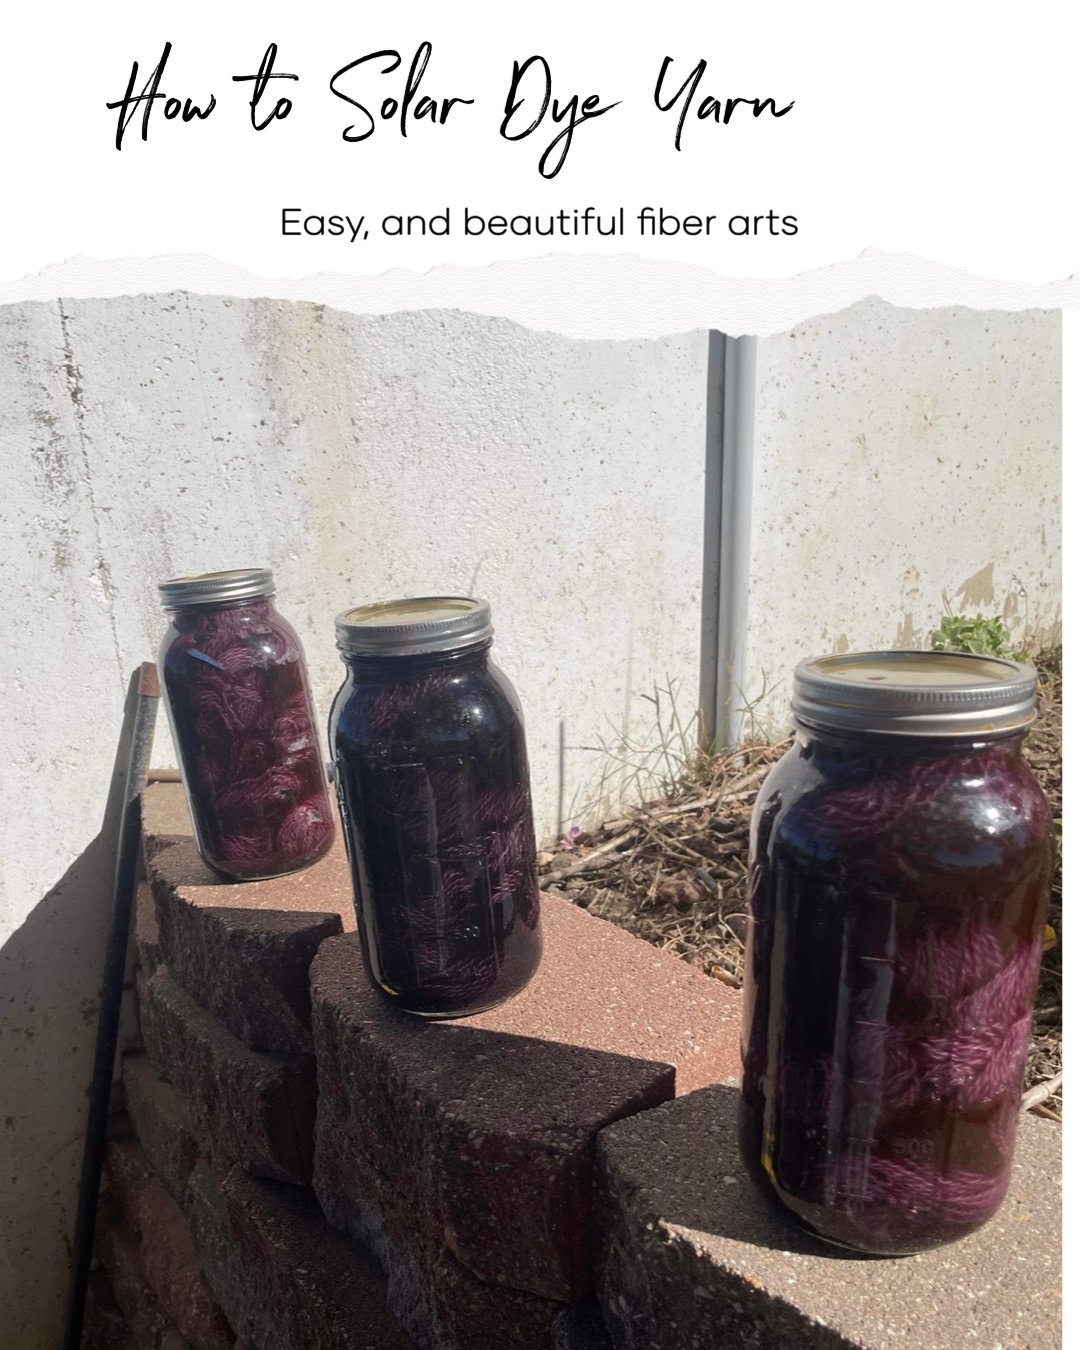
This gorgeous yarn is an example of solar dyeing from one of my fiber besties Heidi Stone Black @cocoonhomespungoods
In the world of fiber arts, there's always room for creativity—not just in patterns and projects but also in how materials themselves are created. Today, we're exploring the beauty and simplicity of solar dyeing. This eco-friendly technique uses the power of the sun to infuse yarns with vibrant colors, offering a sustainable and energy-efficient method for dyers and crafters. If you're intrigued by the idea of harnessing sunlight to breathe new life into your yarns, here's your step-by-step guide to getting started with solar dyeing.
What You'll Need:
100% natural fiber yarn (wool, cotton, silk, etc.)
Acid dyes or natural dyes (depending on your fiber)
Citric acid or vinegar (for acid dyes)
Glass jars with lids or clear plastic bags
Water
Gloves and a dust mask (for working with powders)
A sunny spot
Step 1: Preparing the Yarn
Before dyeing, your yarn must be clean and able to absorb the dye effectively. Soak your yarn in lukewarm water for at least an hour or until it's fully saturated. If you’re using wool, be careful to avoid agitation, as this can cause felting.
Step 2: Preparing the Dye Solution
While your yarn is soaking, prepare your dye solution. If you’re using acid dyes, dissolve the dye powder in hot water according to the manufacturer's instructions, and add citric acid or vinegar. For natural dyes, the process may vary—some dyes require you to make a dye bath by simmering plants, while others can be used directly. Always wear gloves and a mask when handling dye powders.
Step 3: Adding Yarn to the Dye
Gently squeeze excess water from your yarn (avoid wringing) and place it in your glass jar or plastic bag. Pour the dye solution over the yarn, making sure it's completely covered. If you want a variegated effect, don't fully submerge the yarn in the dye or use multiple colors in different sections.
Step 4: Letting the Sun Work Its Magic
Once your yarn is bathed in the dye solution, seal your glass jar or plastic bag. If you're using jars, make sure the lids are on tightly to avoid any leaks; if you're opting for plastic bags, remove as much air as possible before sealing them. This ensures a more even dye without air pockets.
Now, it's time to let the sun do its job. Place your dye-filled jars or bags in a spot where they'll receive direct sunlight for most of the day. This could be a windowsill, patio, or even on top of a car hood. The heat generated inside the container will help the yarn absorb the dye, mimicking a slow simmering dye bath.
The duration your yarn needs in the sun varies depending on several factors: the intensity of the sun, the dye you're using, and the depth of color you desire. A minimum of four hours is a good starting point, but some might leave their yarns in the sun all day or even for several days for deeper colors.
Step 5: Rinsing and Drying
After the sun has set on your solar dyeing project, it's time to rinse. Carefully remove the yarn from the container and rinse it under cool, running water until the water runs clear. If you've used acid dyes, a drop of mild detergent can help remove any unattached dye particles.
Once rinsed, gently squeeze out excess water (again, avoid wringing if you're working with wool) and roll the yarn in a towel to remove more moisture. Finally, hang your yarn to dry in a shaded, airy space. Direct sunlight during this stage can fade the colors you've just worked hard to achieve.
Tips for Solar Dyeing Success
Experiment with Materials: Solar dyeing isn't limited to yarns; you can use this method for dyeing fabrics or even finished textile projects.
Record Your Process: Keep a dye journal of your recipes, the weight of yarn or fabric, dye amounts, and time in the sun. This will help you recreate favorite colors or troubleshoot any issues.
Play with Patterns: For interesting patterns, try tying your yarn with string or rubber bands before dyeing for a solar-dyed take on tie-dye.
Solar dyeing is a wonderful way to combine the joy of fiber arts with the beauty of nature. It's a slow, meditative process that rewards you with uniquely dyed yarns, all while being kind to the environment. Whether you're a seasoned dyer or a crafting novice, the magic of transforming yarn with nothing but dye and sunlight is a fulfilling experience bound to ignite your creative spirit
Here it is the yarn subscription we’ve been dreaming up and putting together for what seems like forever! I’ve been wanting to make a sister yarn subscription to go with our super popular braid club. So it has all of the same elements that has made our hand dyed braid club such a hit
Same Fabulous team of dye artist
Small Mill & USA Farm supporting yarn bases
Wide range of colorways changing it up from shipment to shipment from vivid and bold to subtle and gorgeous so there’s always something new to try and a fun way to push your own creativity.
We will continue to add 1 skein projects to our free pattern page for inspiration of what to make with your yarn without having to buy more.
Limited edition colorways , be the envy of your yarn hoarding friends
Each month you will receive 1 skein of yarn that will be planned out and hand dyed by the Dye team. You can count on us to not just make lovely yarn and deliver it to your door. We also source our materials and artists from small farms and family businesses with a focus on staying stateside. We hope this subscription will have the same group community and following that our braid club has enjoyed with everyone showing off their projects and sharing the inspiration.
Limited Time Offer
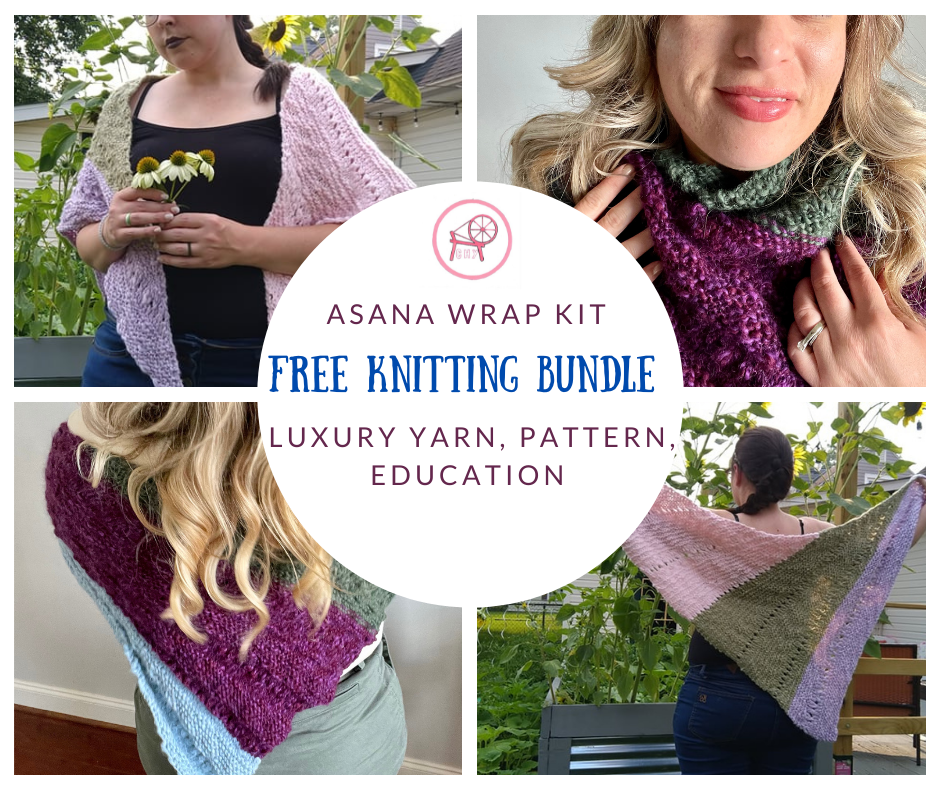
Sign up now to receive a free knit kit filled with yarns and patterns! Dive into the world of knitting and unleash your creativity with our exclusive offer. Join our community of fiber enthusiasts and start your crafting journey today!


