
Mastering 2-Ply Yarn: A Step-by-Step Drop Spindle Guide-Part 2 From Braid to Belt Project

Mastering 2-Ply Yarn: A Step-by-Step Drop Spindle Guide
Part 2 From Braid to Belt Project
This is the second installment in our Braid to Belt series from Jessica Jane Patterson from Spinning Shadows. Make sure you check out the first installment here first.
In the first segment you learned all about planning out the colors in your braid , pre-drafting, separating fiber and attaching the fiber to your spindle.
You would want to first divide the braid long ways as she shows in the first video becase you are going to be spinning two identical single ply yarns
After attaching the wool and getting started with spinning you’d want to continue spinning from color to color ( if you choose to do color blocked) in an even fashion untill you reach the end.
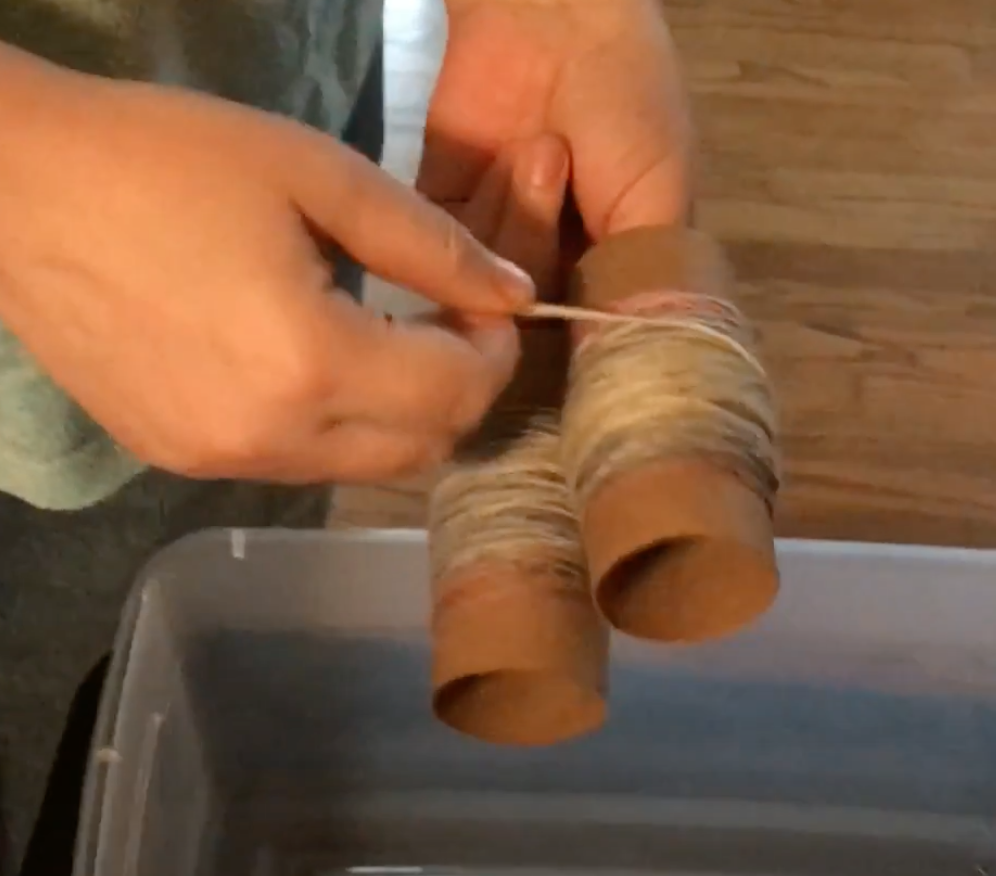
The goal is to end up with the braid split in two peices and spun into two matching single plys of yarn. She then wraps the two single ply yarns around empty toliet paper rolls to hold the fiber and keep it out of trouble while plying. I have also just wound the singles into old school balls of yarn either method works.
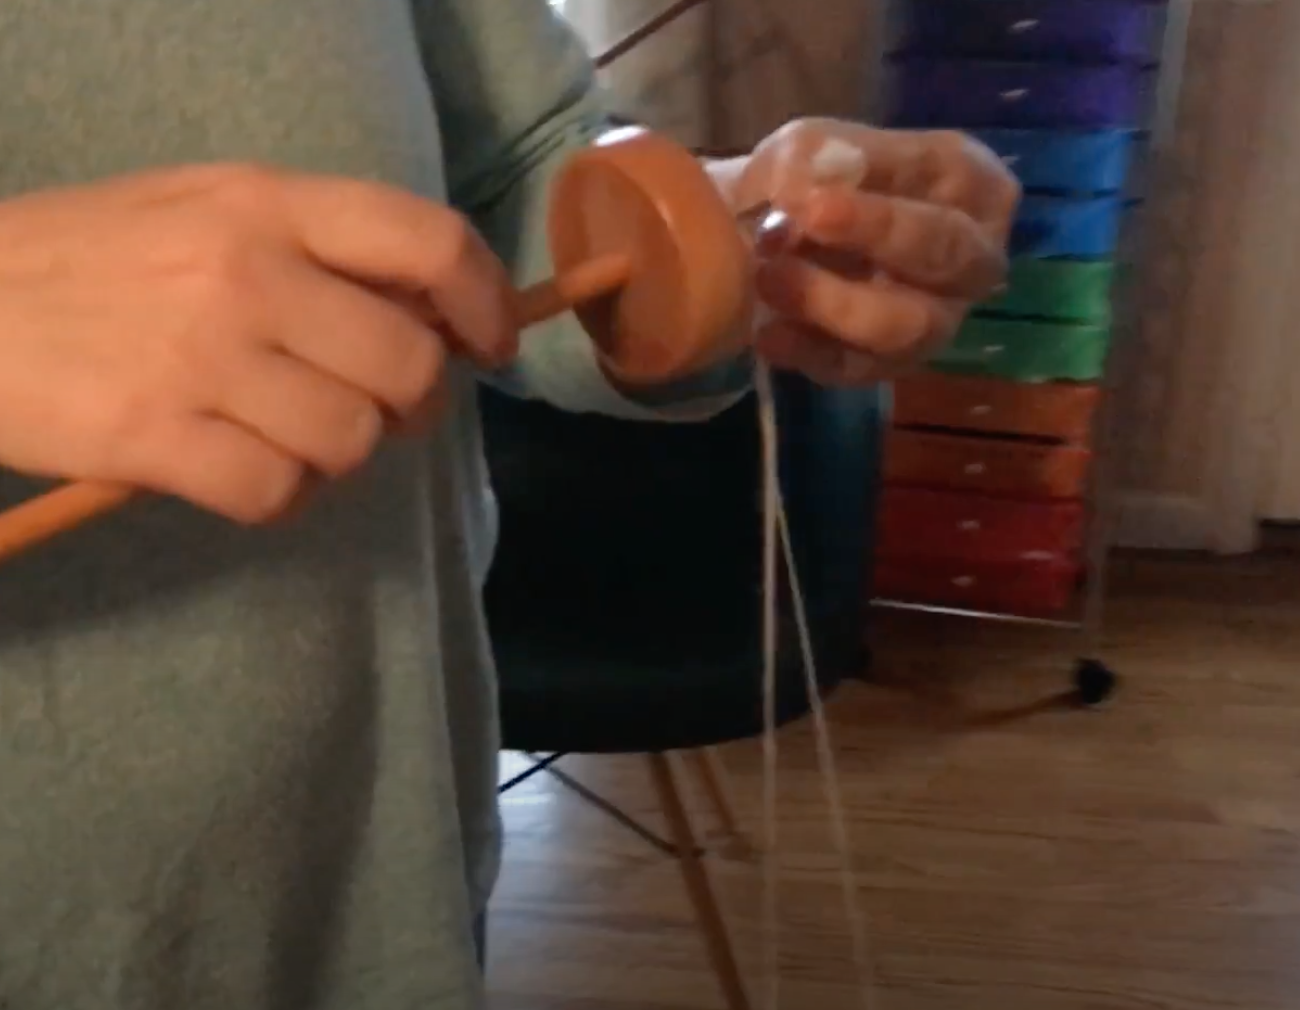
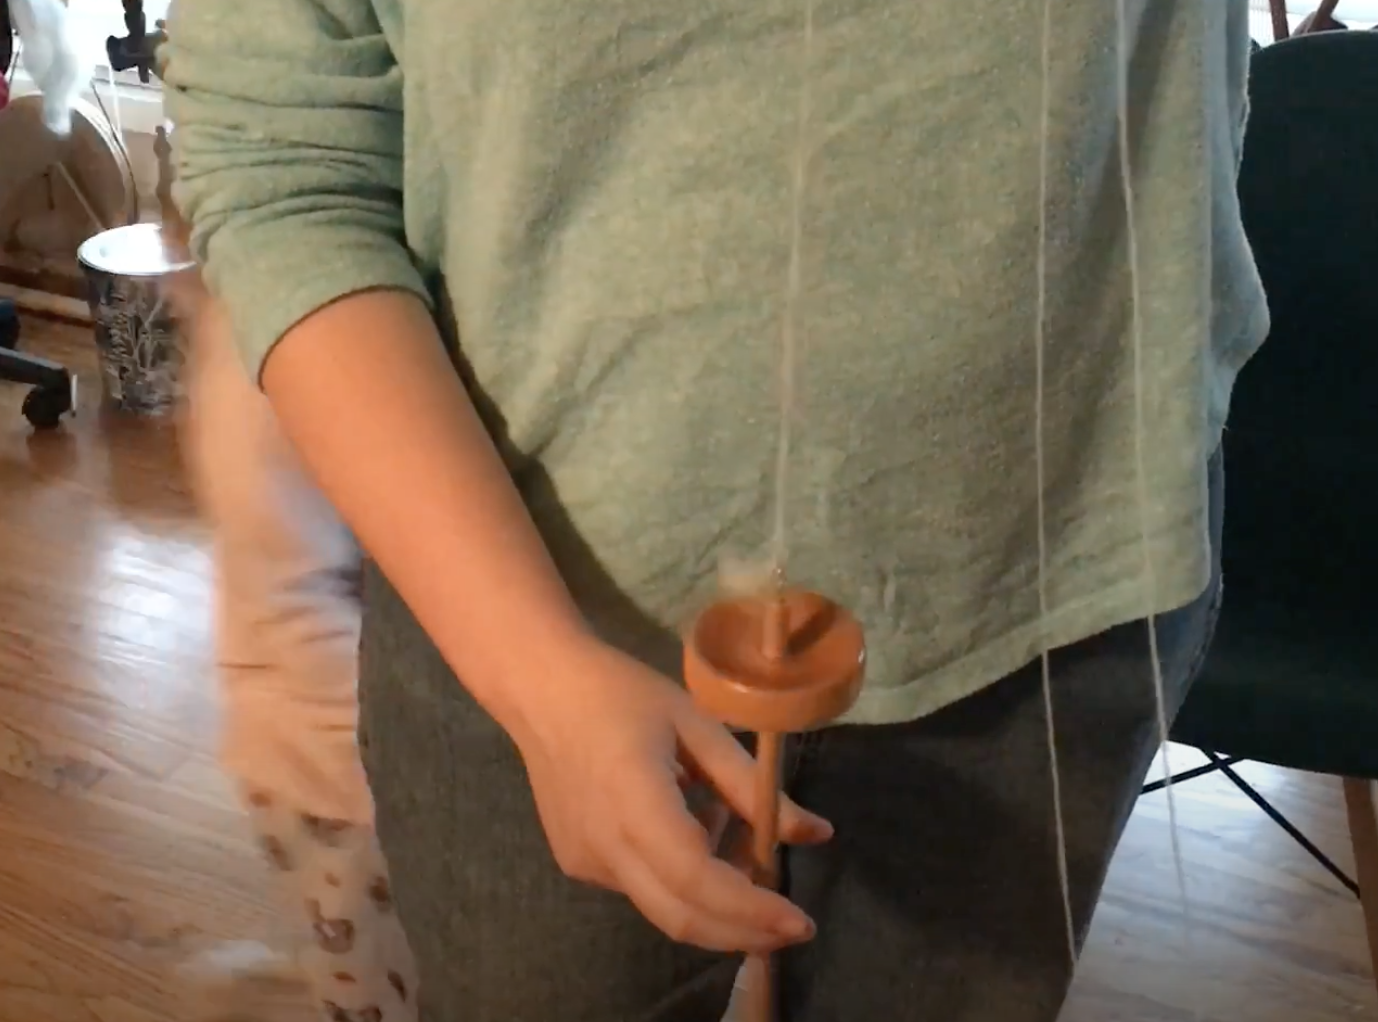
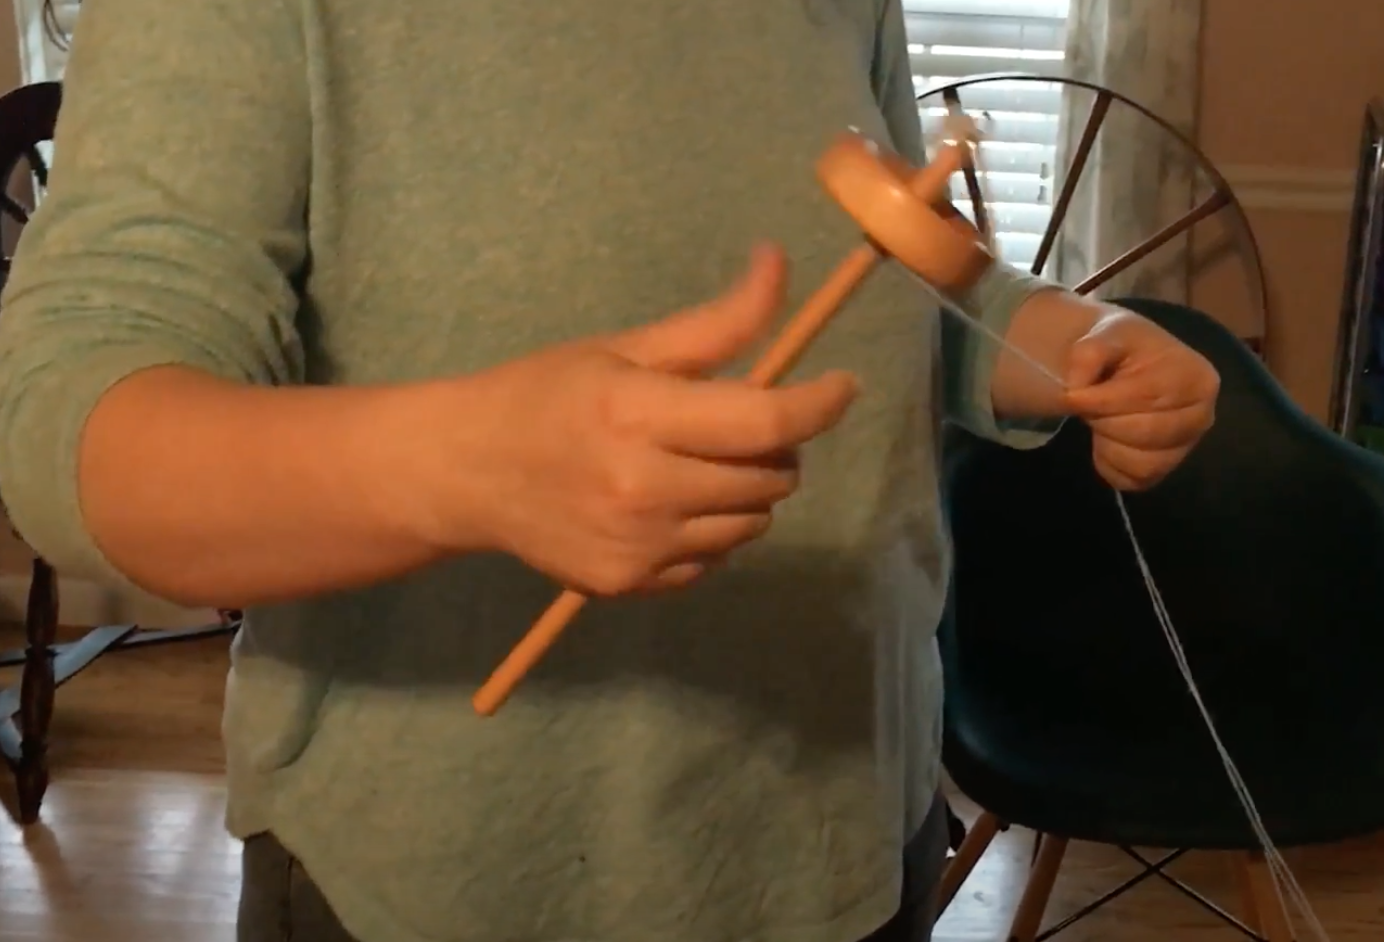
You are then going to tie the two ends together and start two plying the yarn on your spindle. You will tei the two matching color ends together and then tie the tied ends to the hook of your spindle and start spinning in a counter clockwise direction. You spin the singles in a clock wise direction so you want to ply the yarn in a counter clockwise direction to even out your twist.
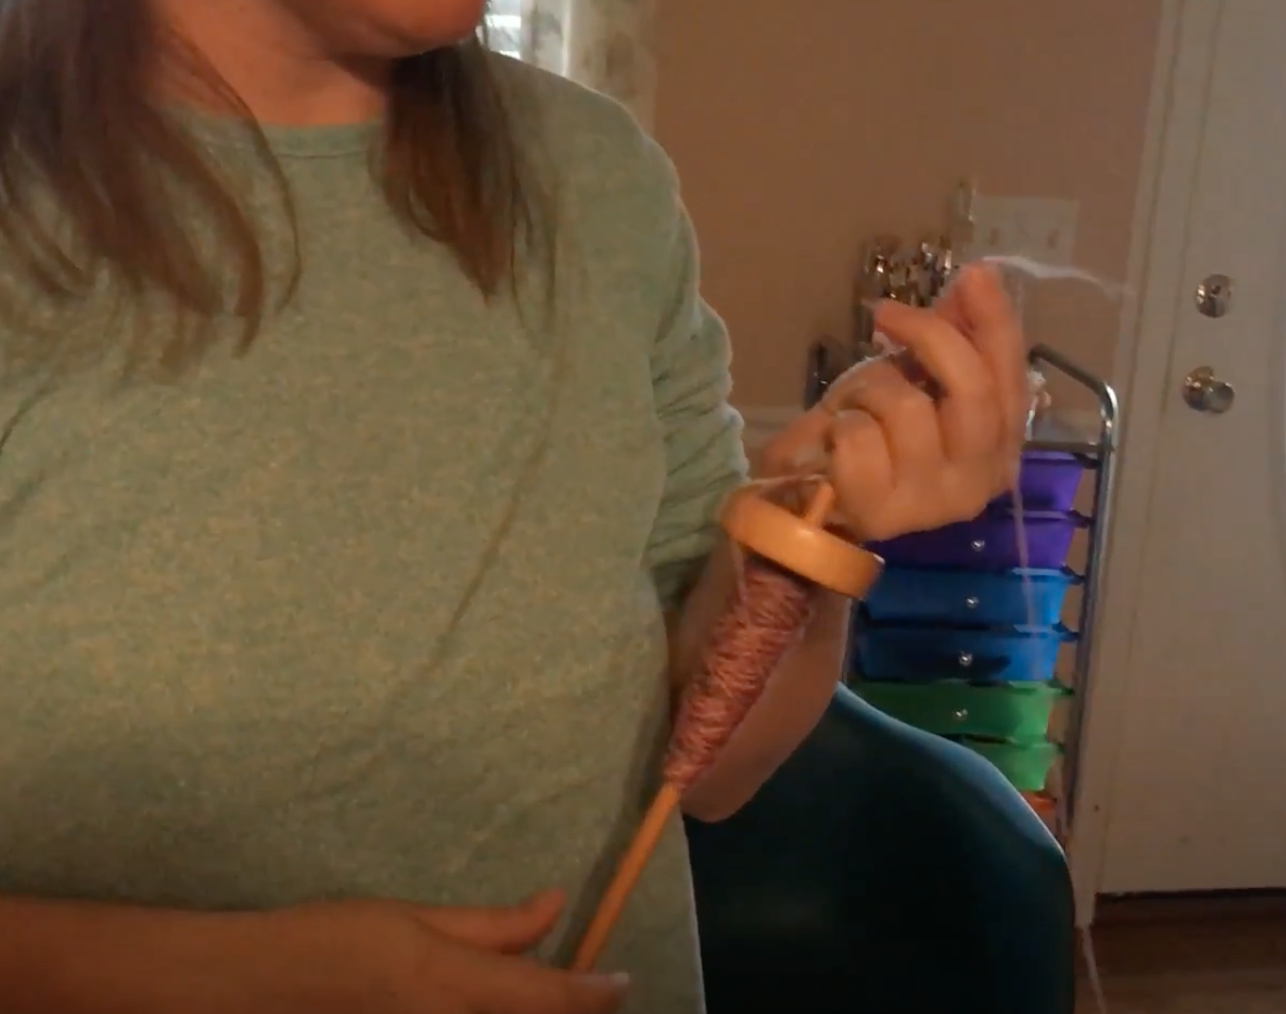
Here’s a quick video showing basic two ply on a drop spindle
Ready to take your spinning further? Let’s walk through the steps of creating a clean 2-ply yarn — the perfect foundation for projects like our woven belt.
Prep Your Spindle: Make sure your drop spindle is smooth and ready. Any rough spots can catch the fiber, so sand them down before you begin.
Spin Your Singles: Start by spinning consistent singles. Don’t worry about perfection — steady and even is what you’re aiming for.
Reverse the Twist: When it’s time to ply, remember this rule of thumb: if you spun your singles clockwise, you’ll ply counterclockwise. Think of it as balancing the energy in your yarn.
Ply Together: Hold your singles side by side and let the spindle’s spin do the work, naturally twisting them into a balanced 2-ply.
Show It Off: Once finished, you’ll have a strong, beautiful yarn — ready to use for the woven belt project or any handmade piece that deserves extra character.
Spinning 2-ply isn’t about perfection — it’s about rhythm, balance, and enjoying the process. Each twist tells part of your maker’s story.
The Yarn Skein Collective An exclusive, ever-growing vault of fiber arts guides, tips, and resources—curated from years of limited-time offers, workshops, and course bonuses. Now permanently housed on-site, free to access. Sign up to explore and get notified when fresh content drops. It’s for fiber besties who want to stay inspired and in the loop.