How to Weave a Belt with Yarn- Part 1 of From Braid to Belt- Drop Spindle and Color Theory
How To Weave a Belt With Yarn-
Part 1 of From Braid to Belt- Drop Spindle and Color Theory
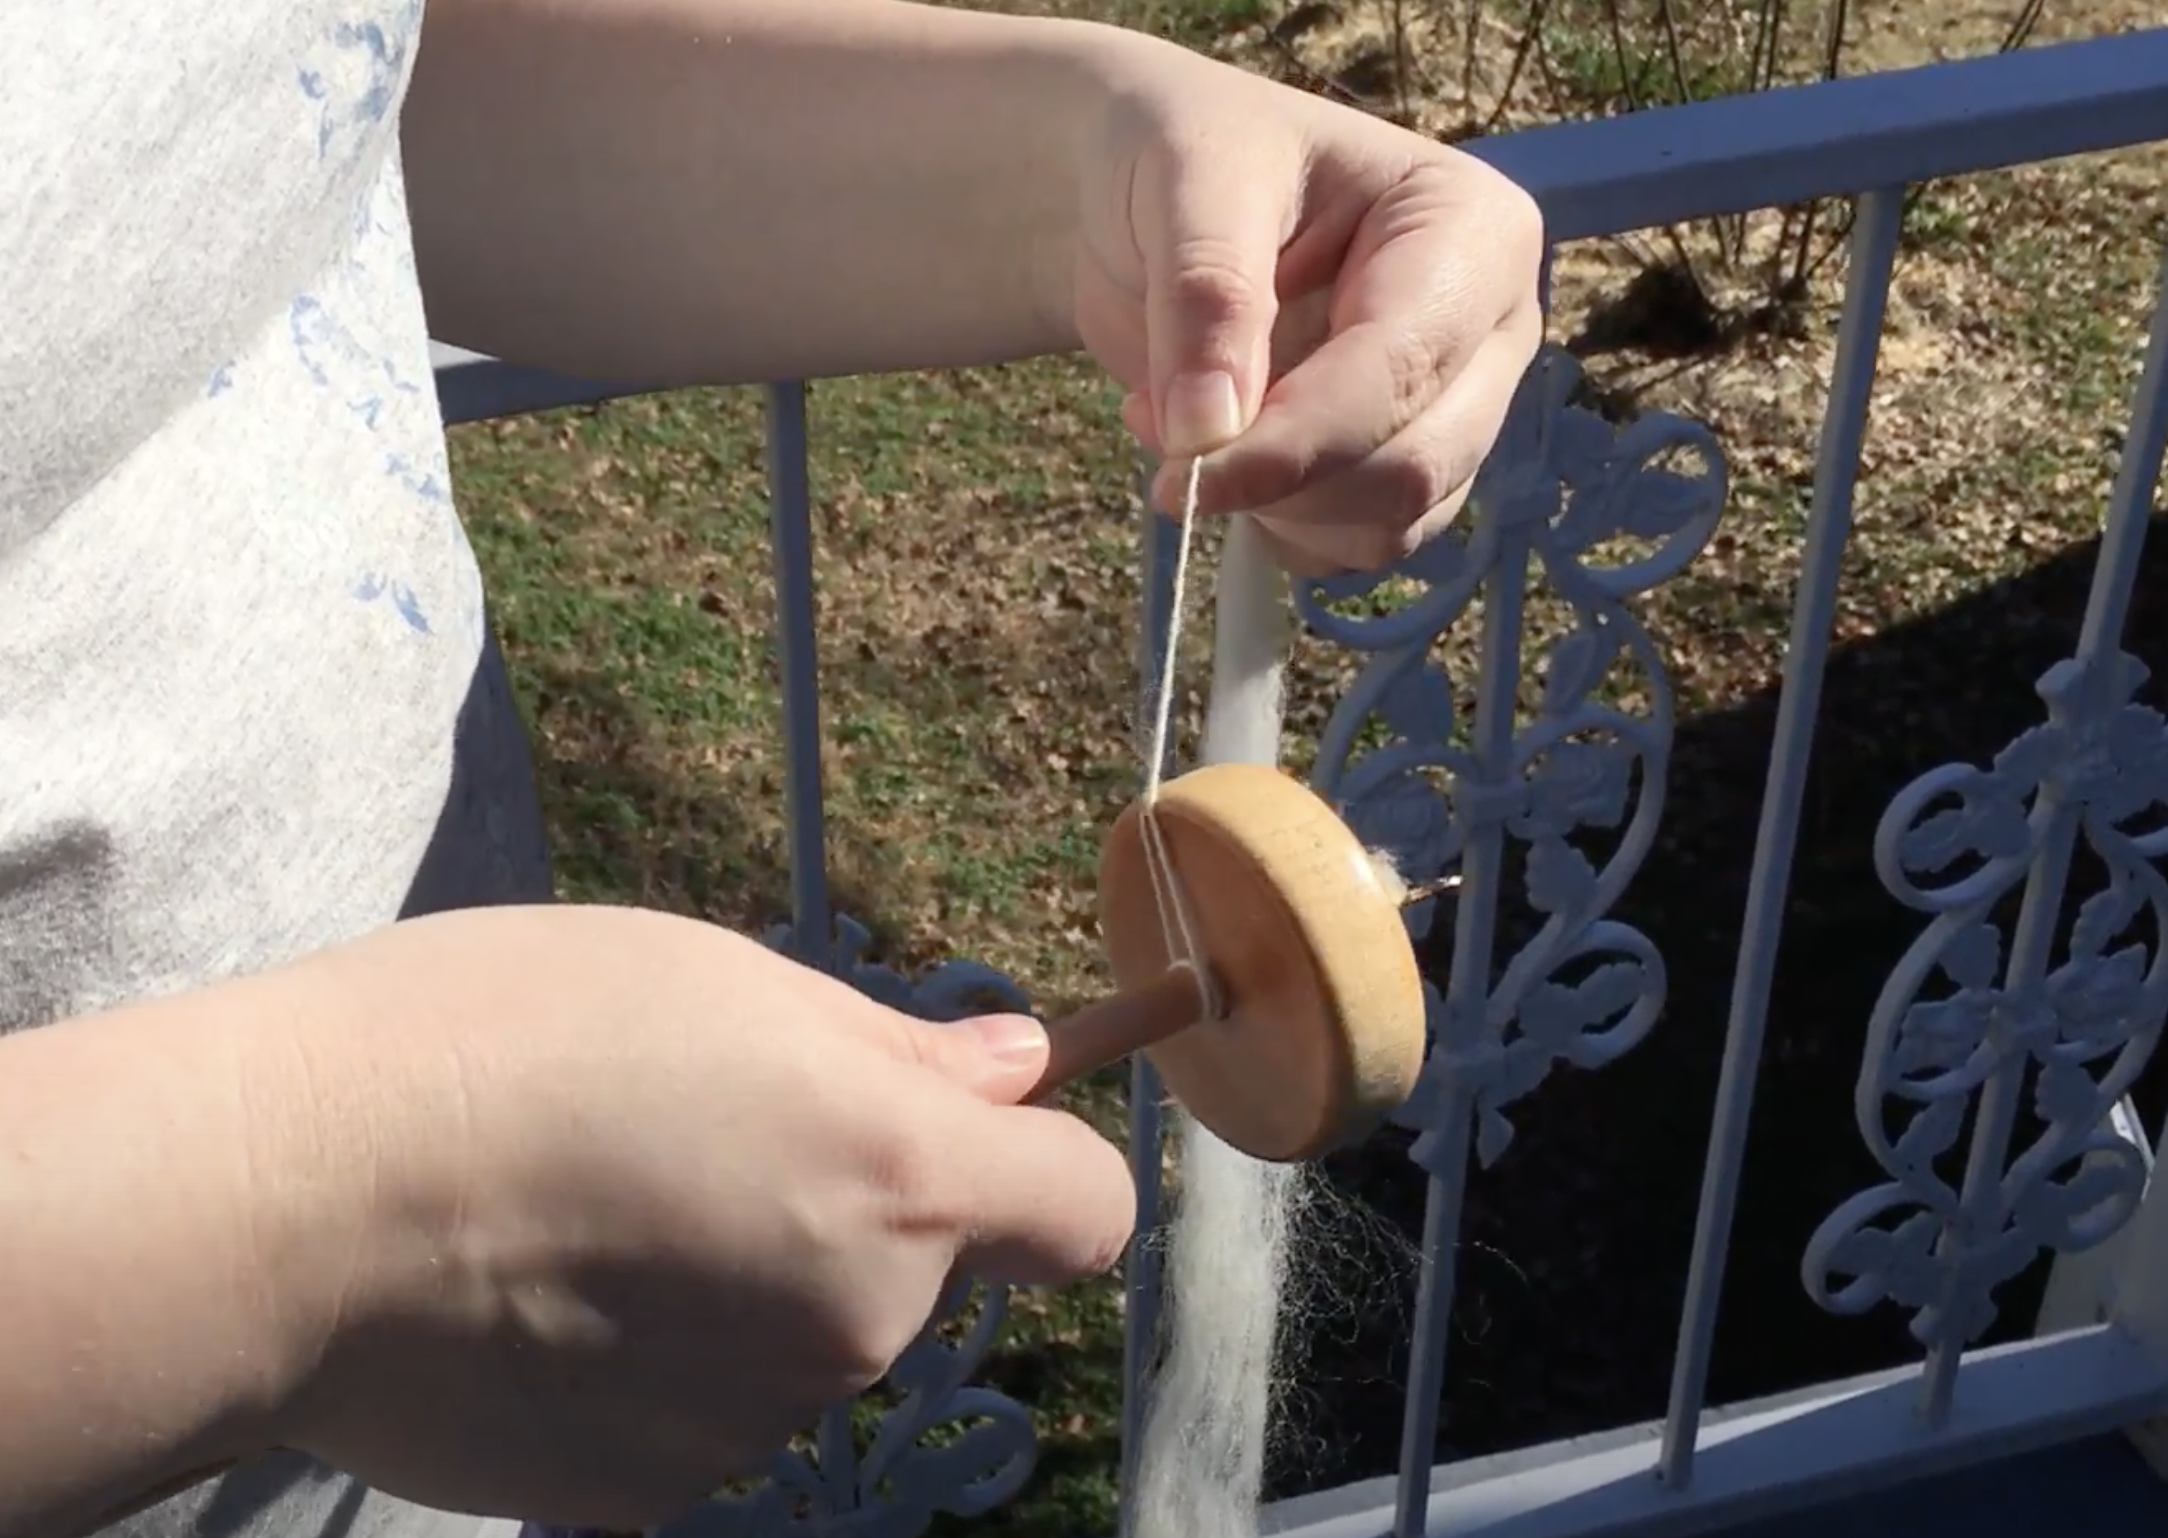
Do you love the idea of making something that is truly unique and all your own? Well this is a great time to try. My lovely and super talented friend Jessica Jane Patterson of Spinning Shadows YouTube Channel is a pro at using simple at home tools to create really top notch fiber arts projects. I just love her ability to really walk a project though from beginning to end with a well thought out plan. I loved the idea of being able to not just spin your own yarn( shown on a drop spindle) but weave your own belt with simple at home tools.
Before we jump into the drop spindle section, here are a few essentials for weaving your yarn belt:
Choose Your Yarn With Intention: This is where spinning your own really shines. Select something durable enough to wear but soft enough to enjoy. Play with color sections — the belt becomes your canvas.
Get Comfortable With the Loom: Don’t overthink it — a simple loom that fits your project is all you need. Think of it as the frame that keeps your vision steady.
Find the Right Tension: In weaving, tension is everything. Too tight and the fabric stiffens; too loose and it loses structure. Aim for that balanced middle ground — it makes all the difference.
Decide on Finishing Details: Fringes, tassels, or a clean edge — each creates a different look. Choose the finish that feels most like you.
Take Your Time at the Finish Line: When you’re adding closures or buckles, don’t rush. This is where the piece shifts from “project” to “polished.”
Wear It With Pride: You’ve turned your own yarn into something functional, wearable, and beautiful. That’s not just craft — it’s art.
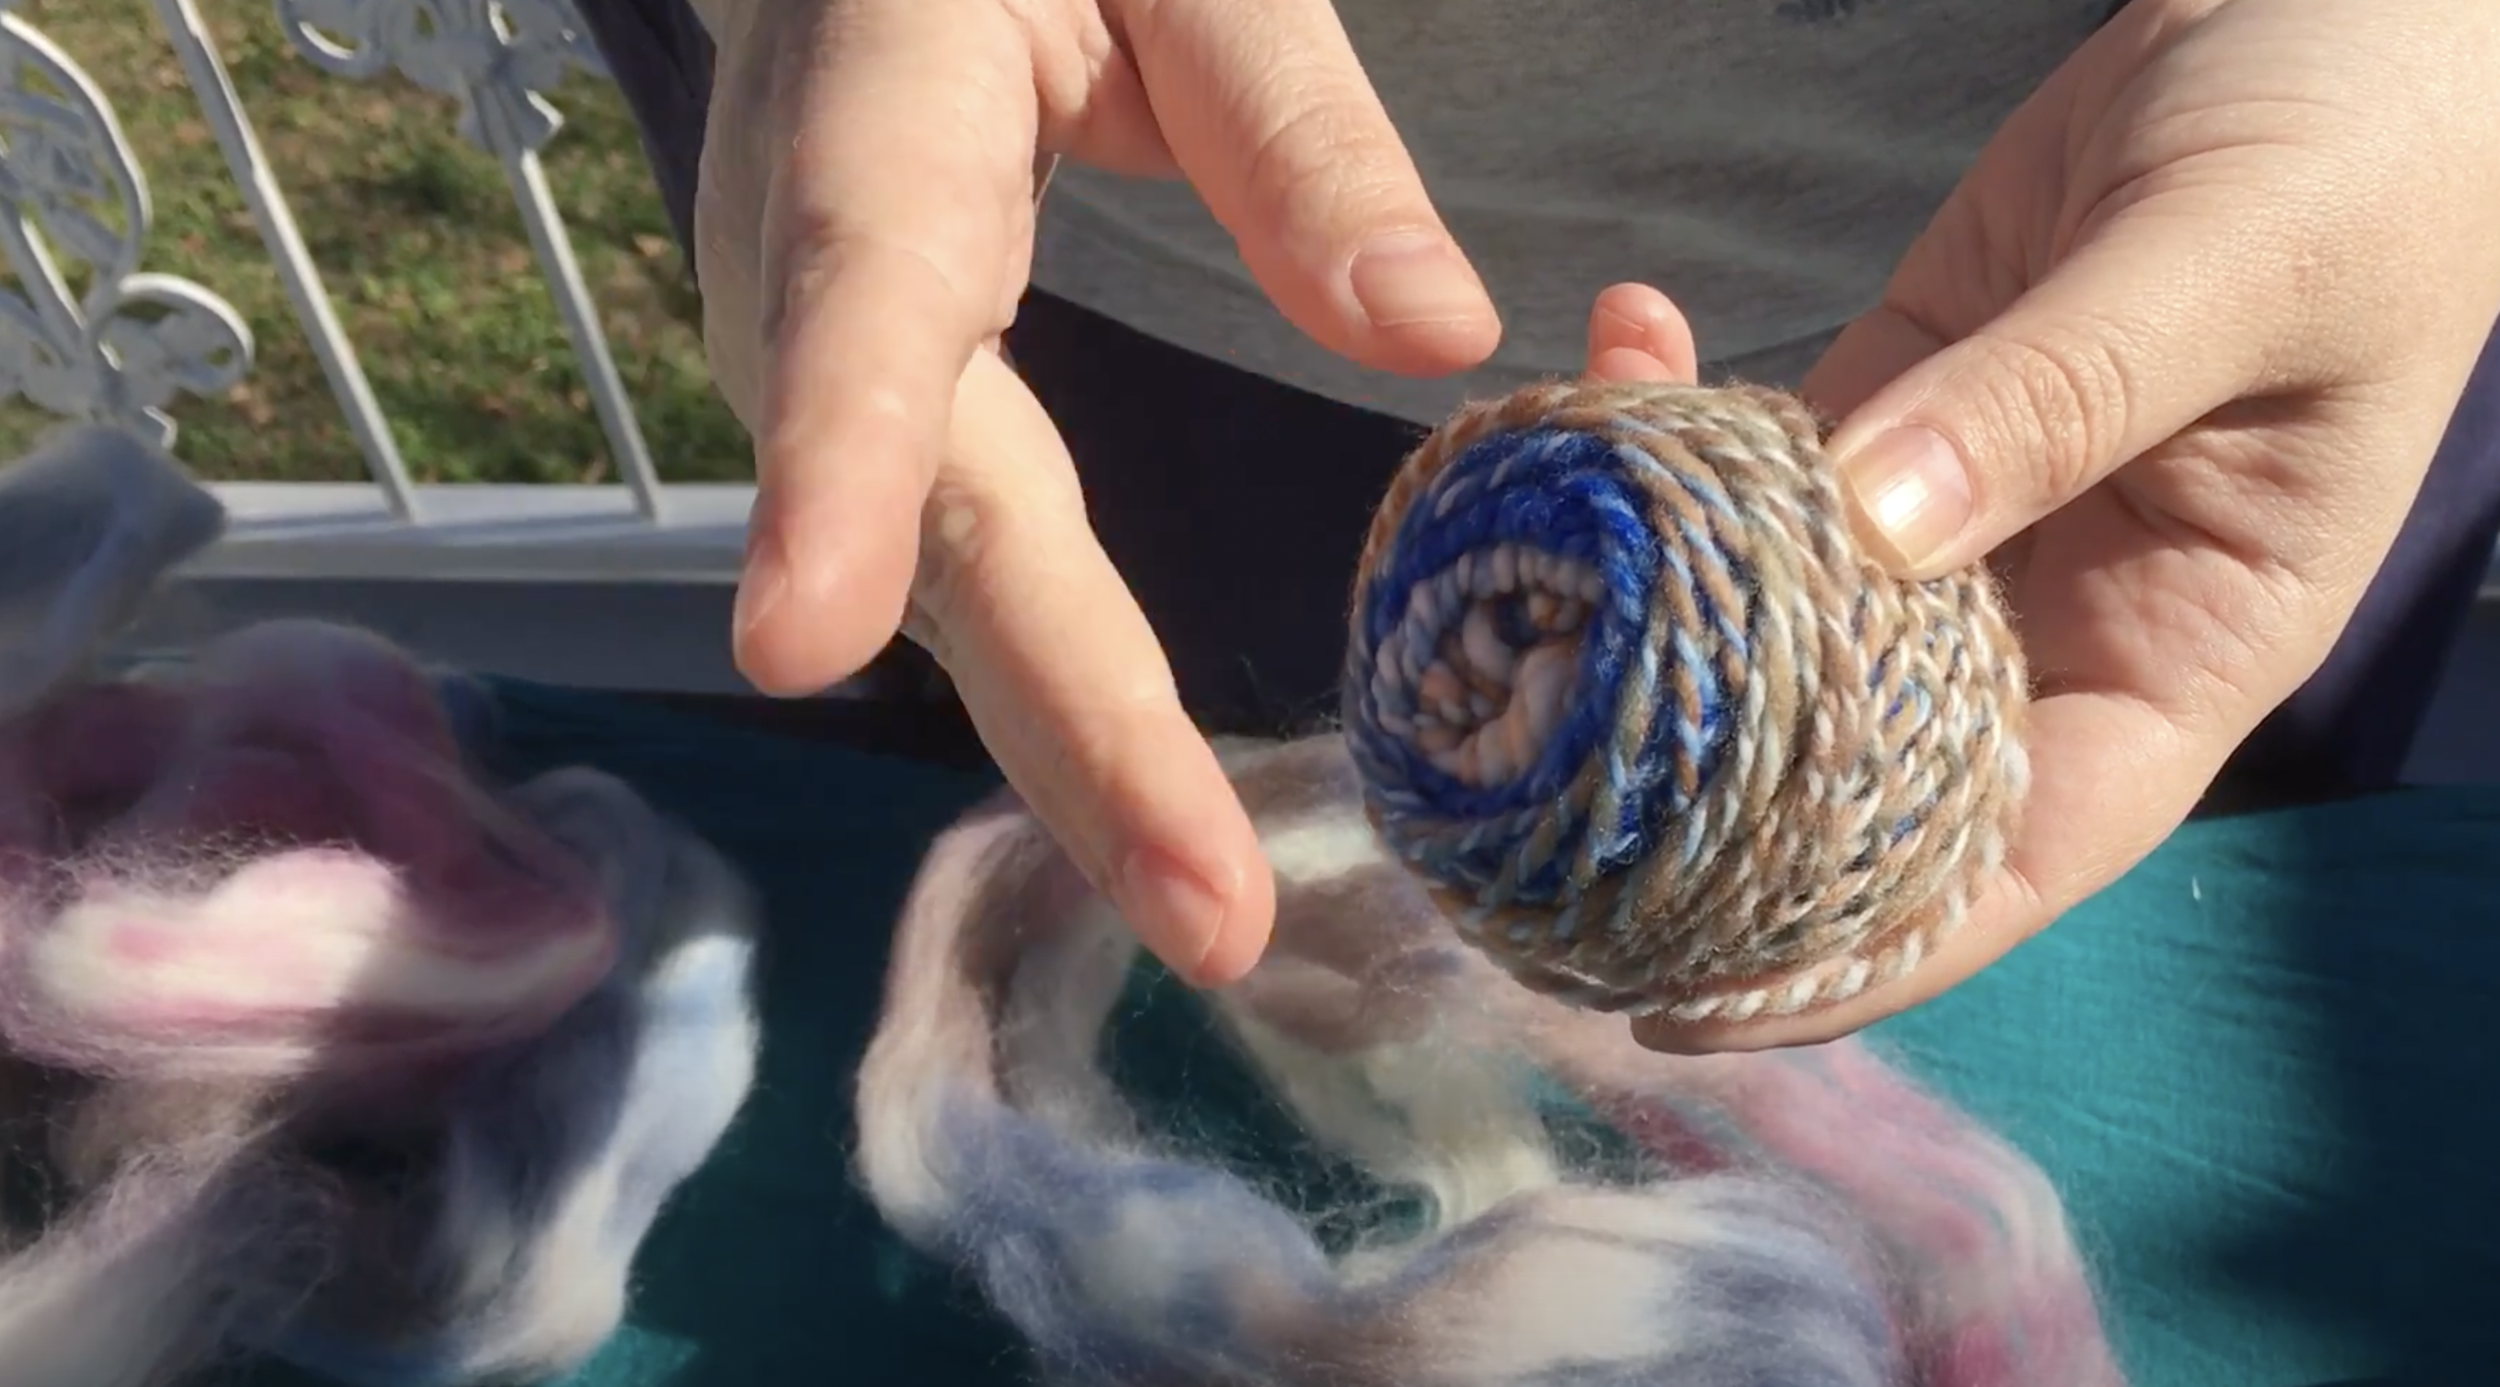
The goal isn’t perfection, it’s expression. Each belt is a reflection of your hands, your yarn, and your creativity.Her lesson will show you how to use one of our braid of the month braids in a mindful way to make a yarn with a color pattern you will really enjoy weaving. The braid she uses in this lesson is a color blocked braid from our braid of the month club this one was Corriedale I believe. If you have a braid that has the colors a bit more mixed up you may need to divide the colors up a bit more yourself before spinning or just have a yarn that is a bit more mixed in color instead of blocked. With our monthly braid clubs we try to mix it up from month to month with projects like this in mind. So not just alternating from warm to cool colors, subtle to neon Etc.,but also color blocked vs marbled. That way you always have something new to experiment with!
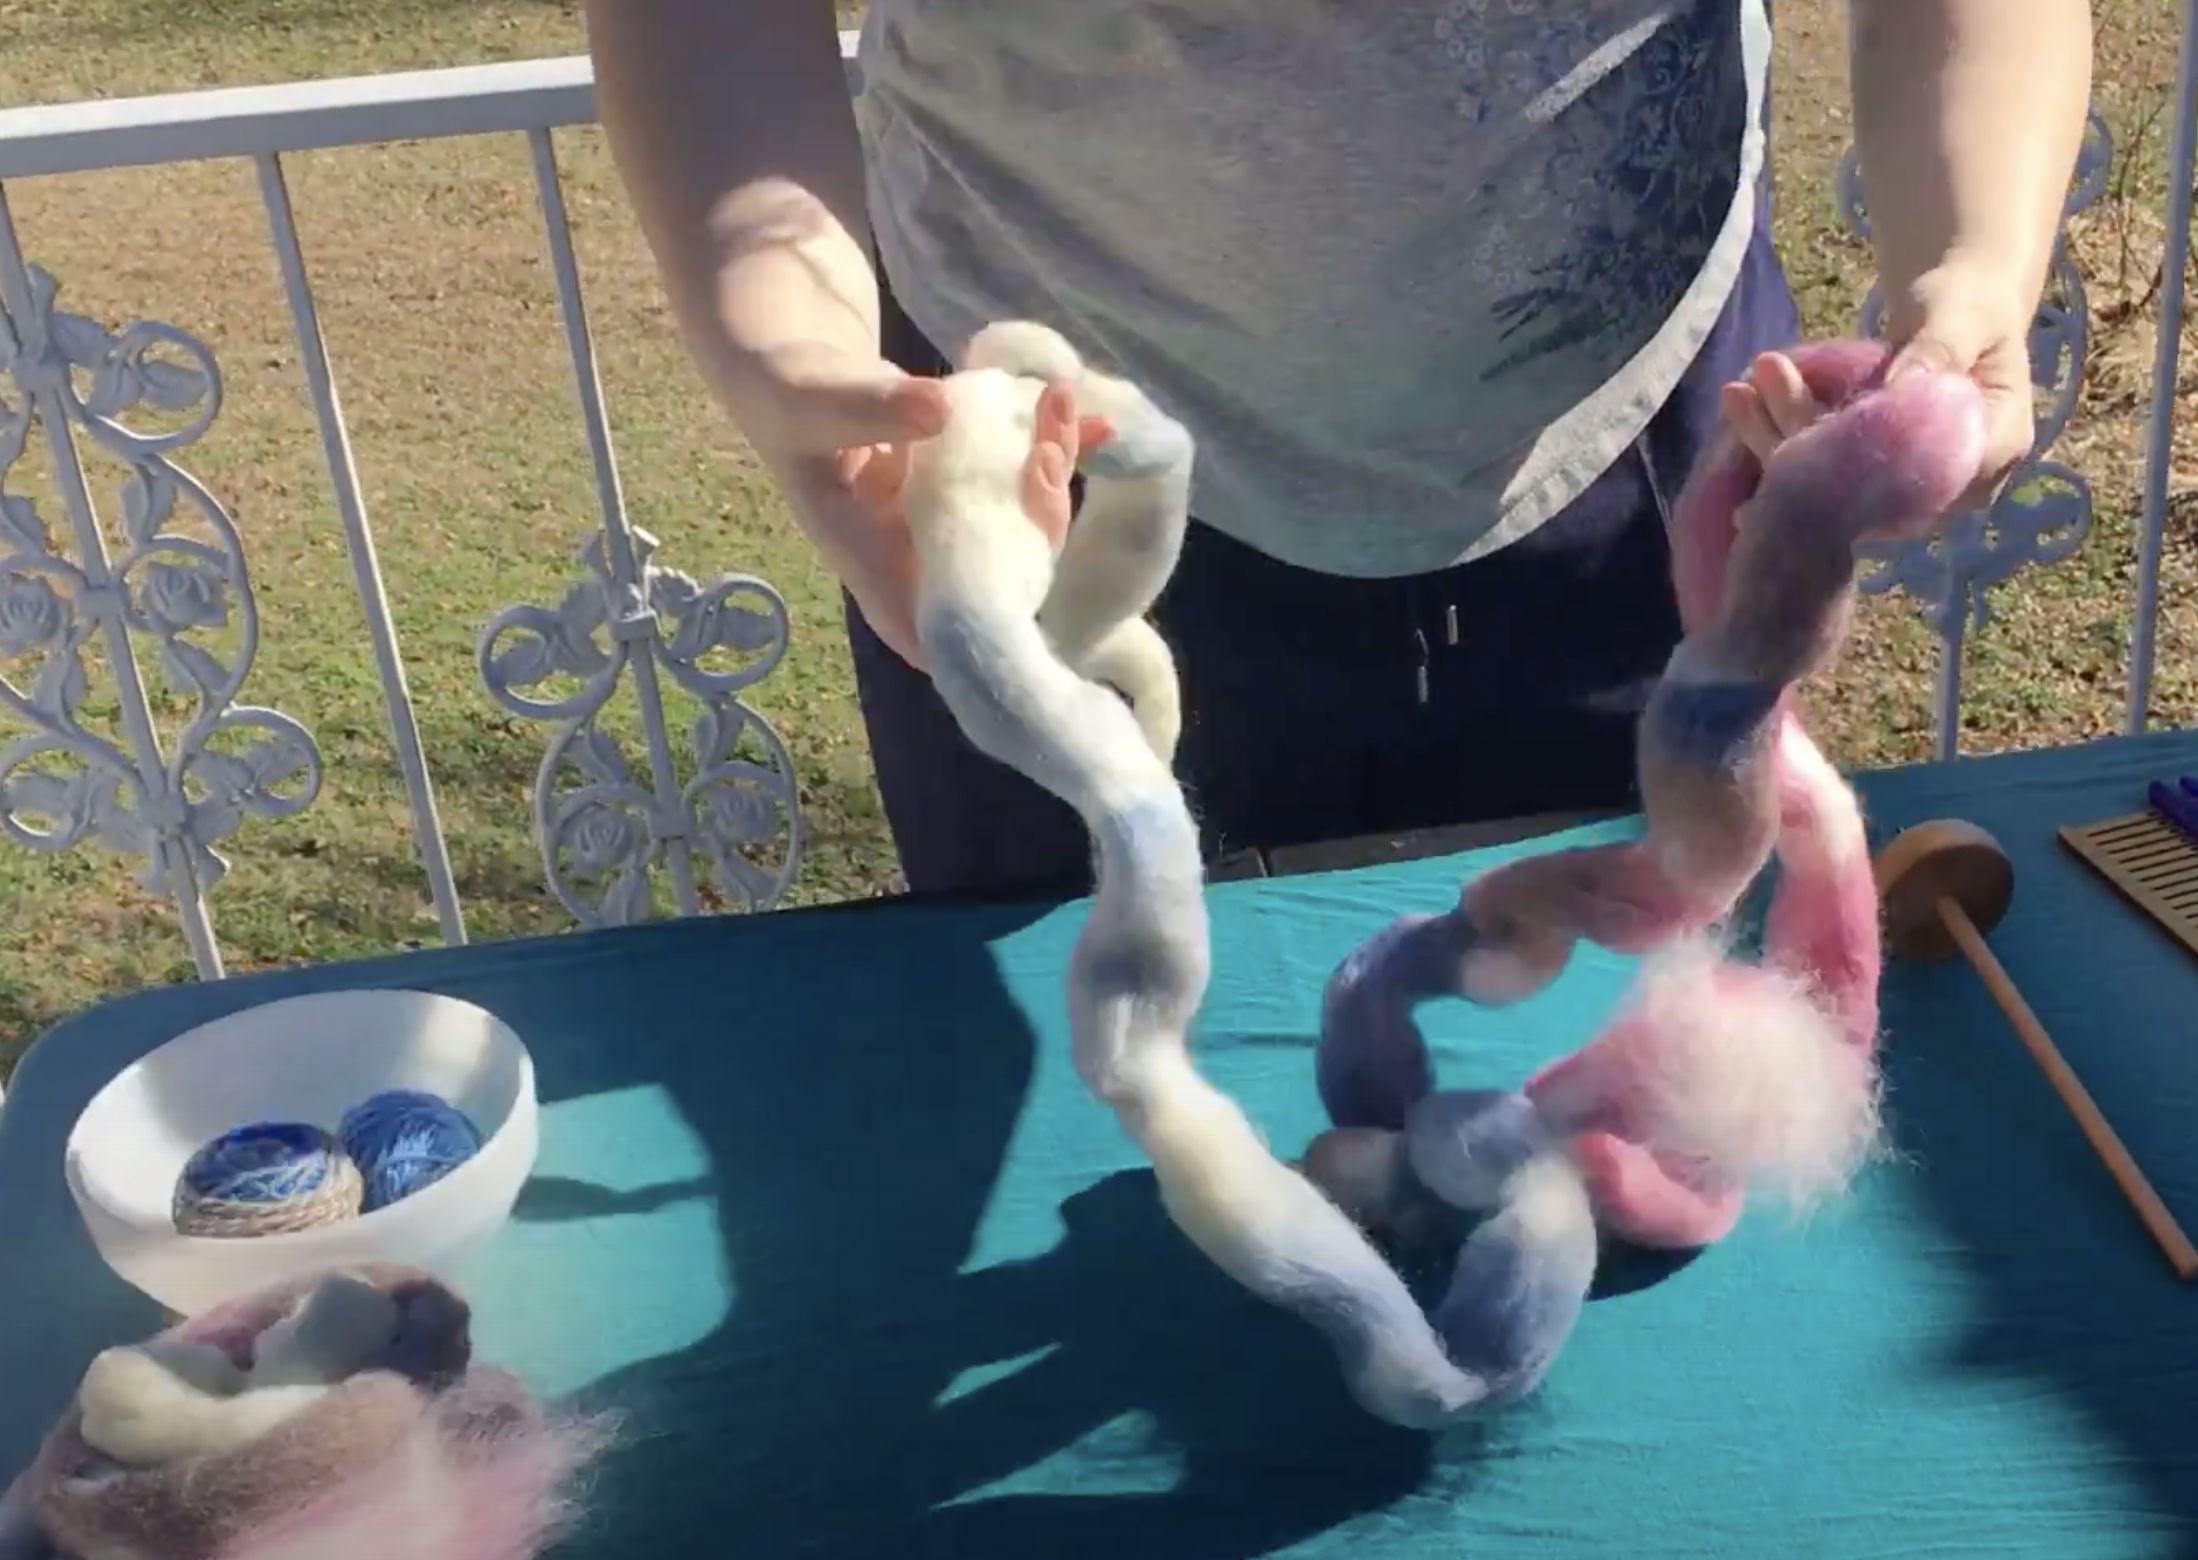
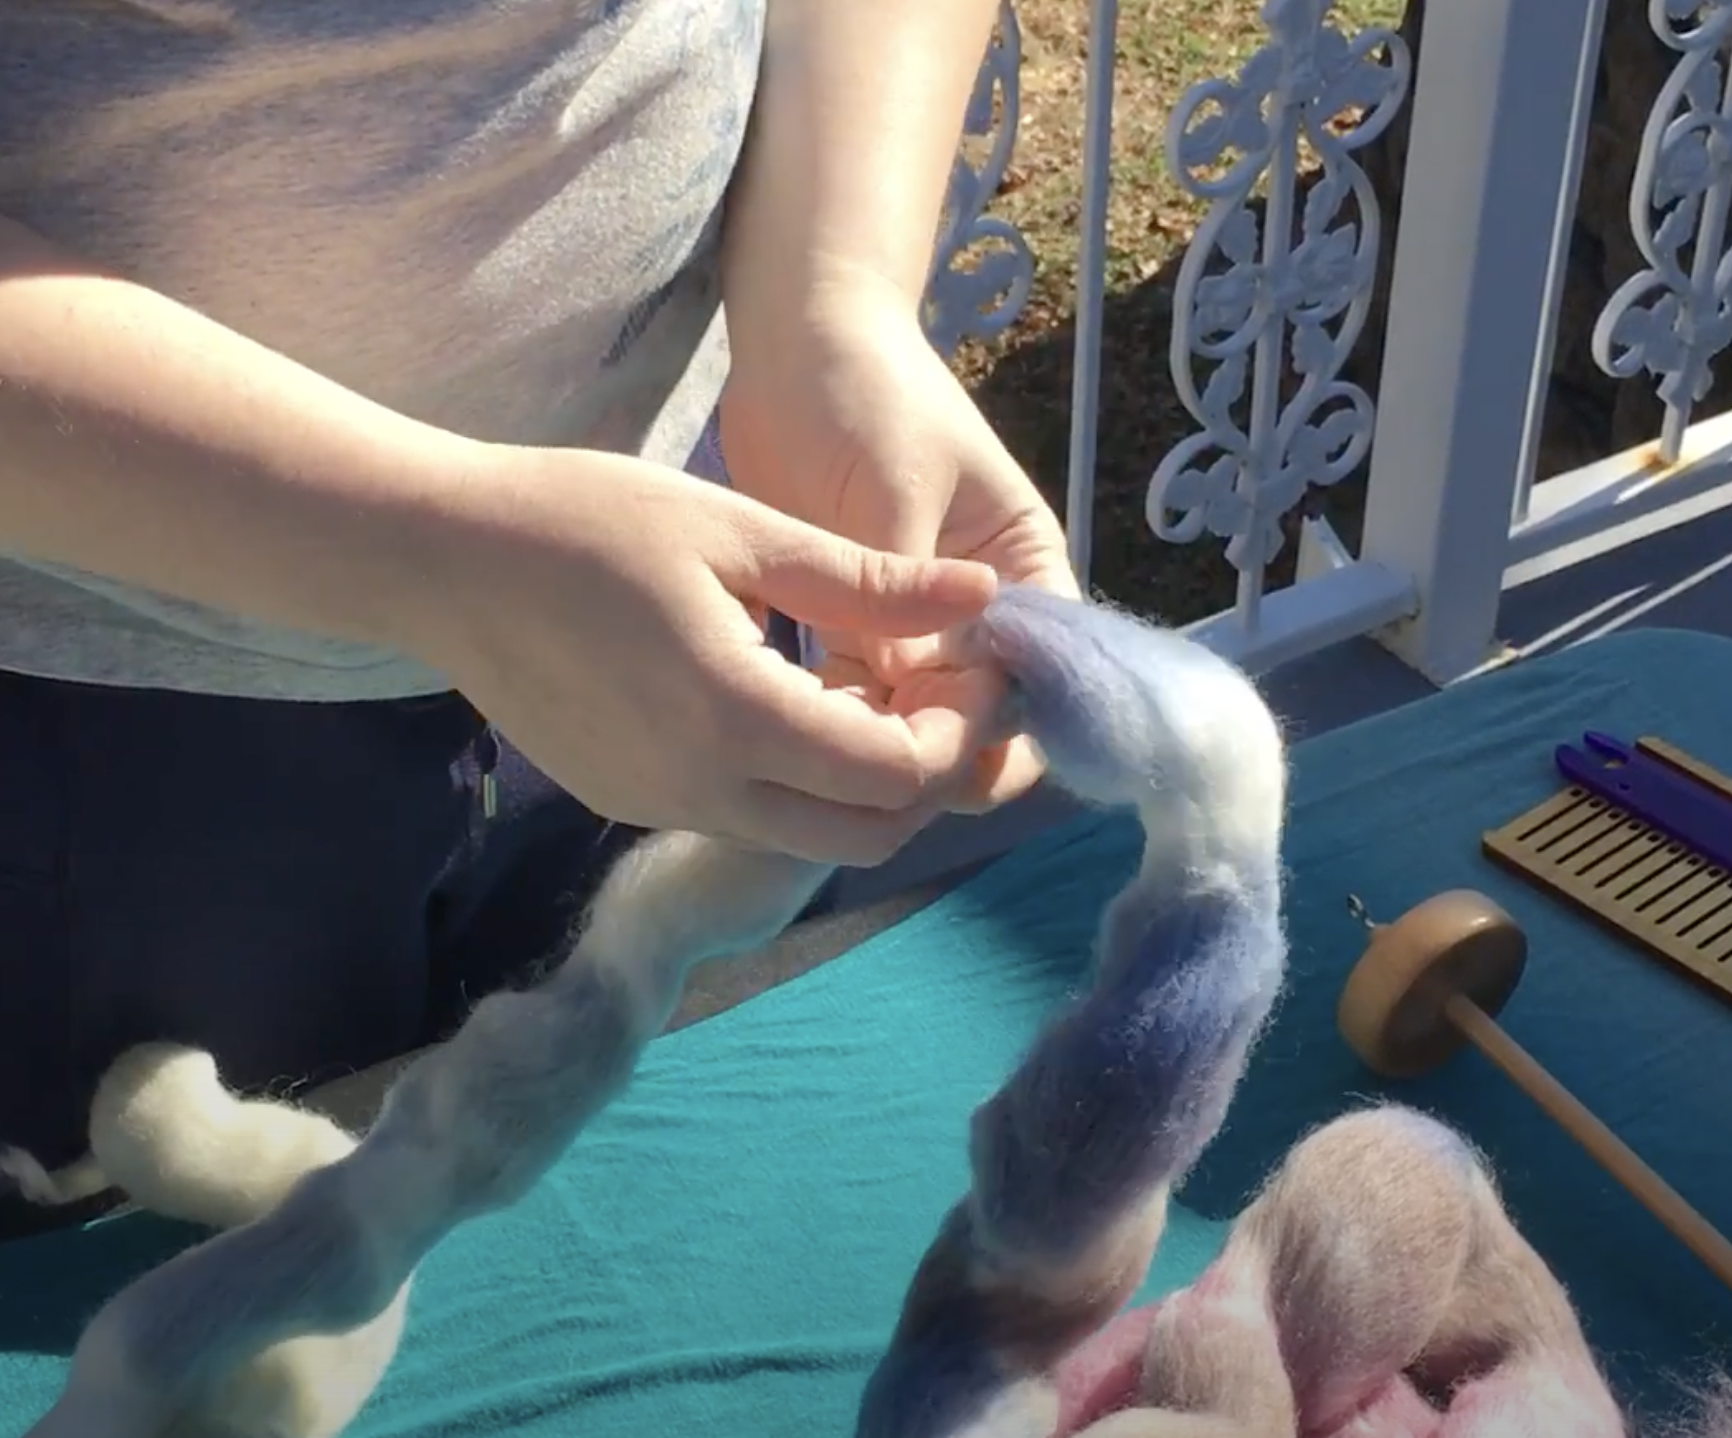
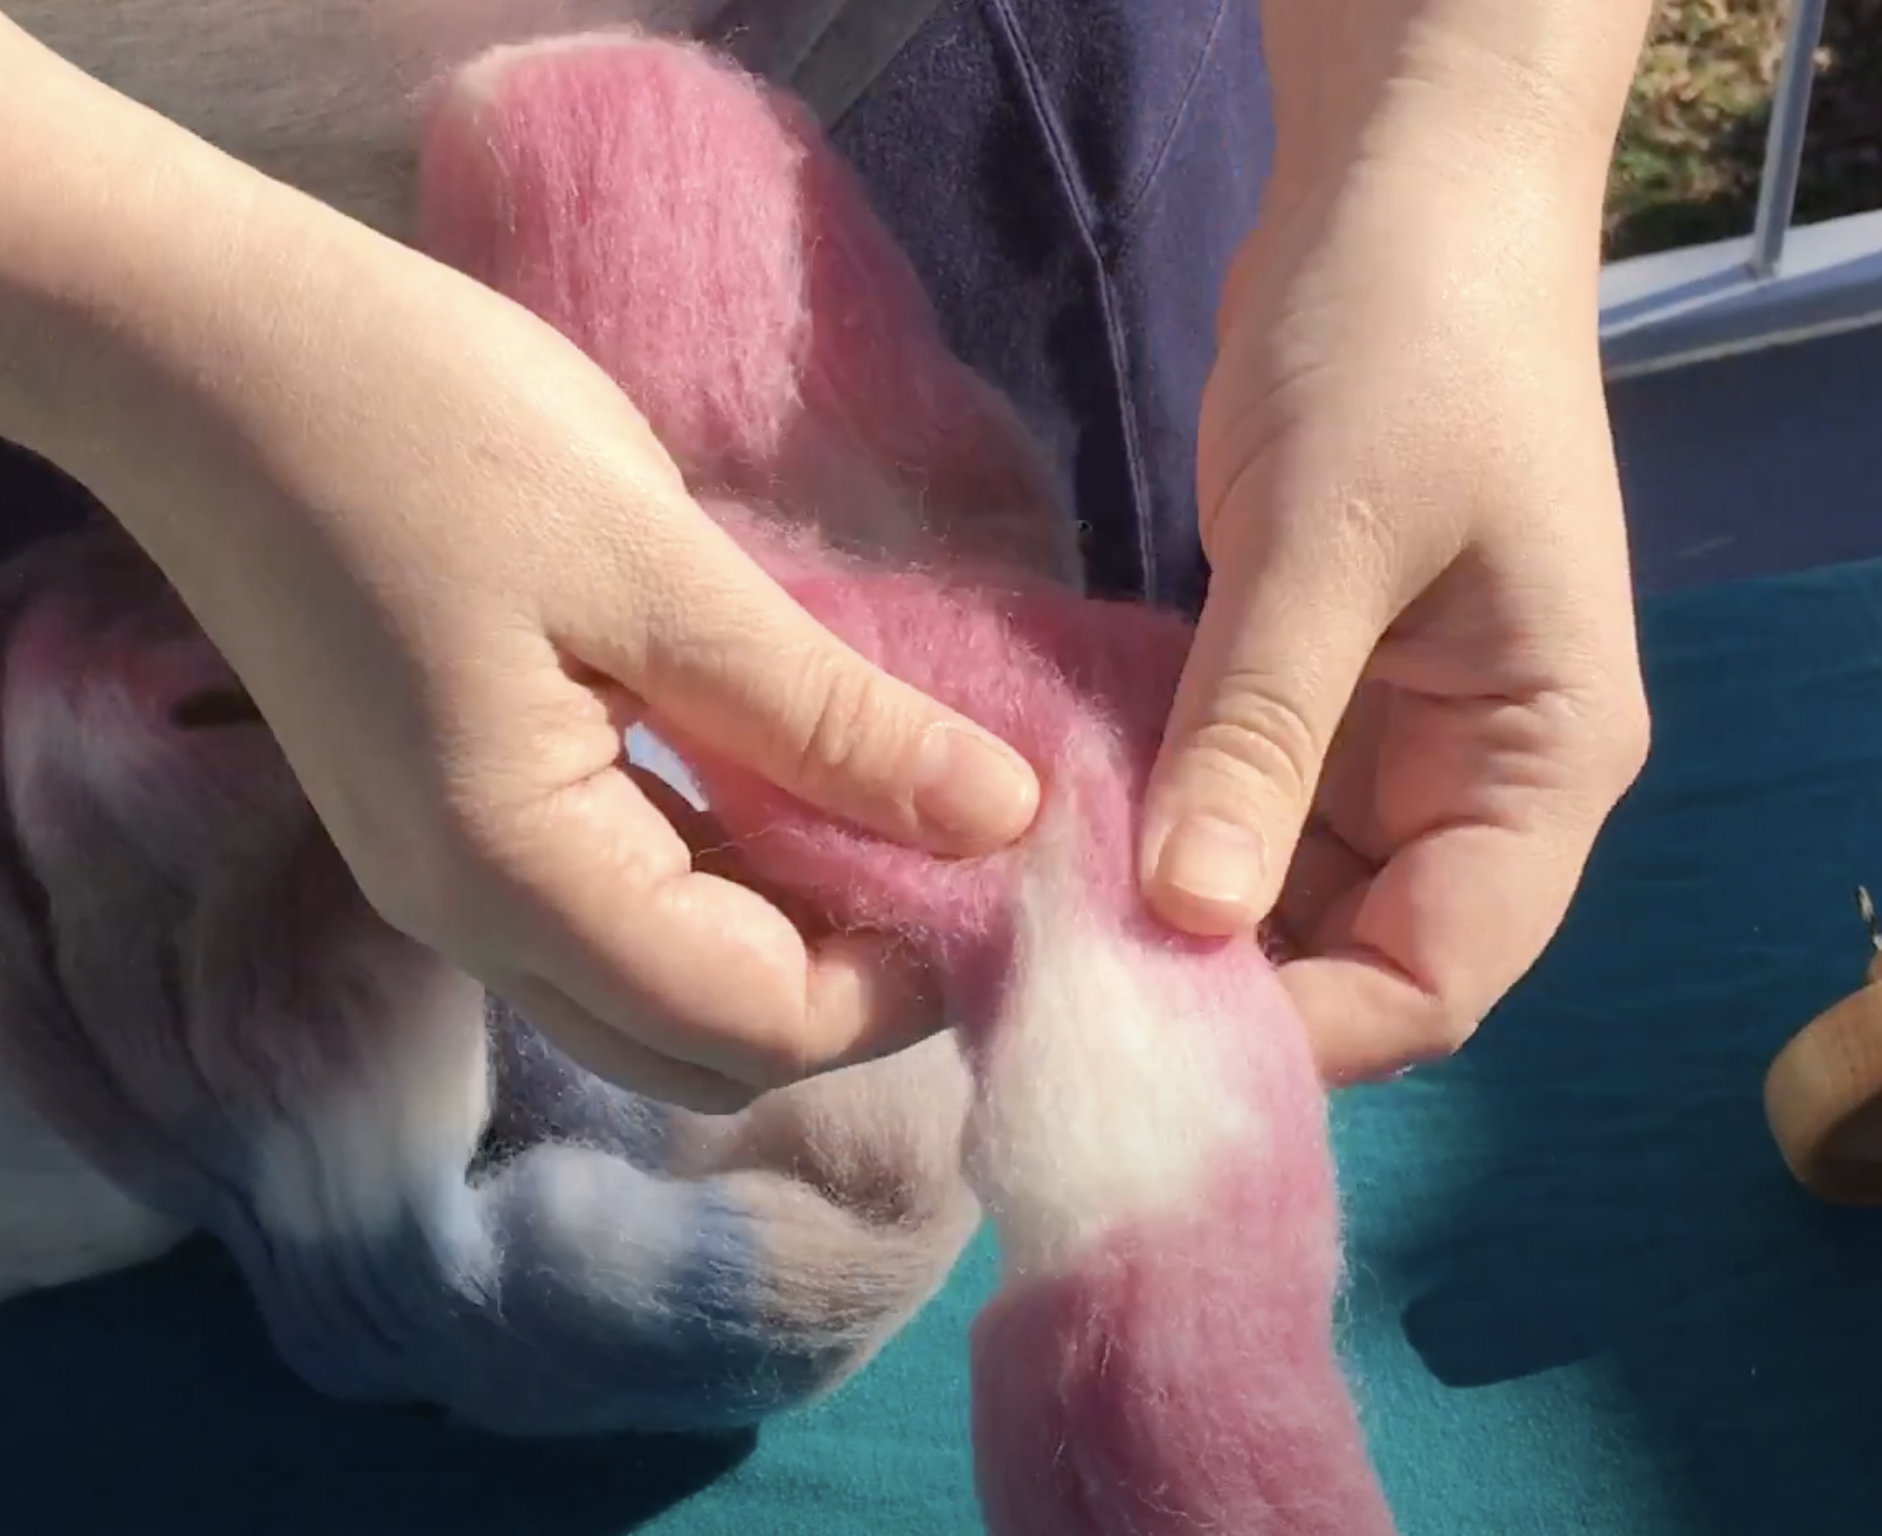
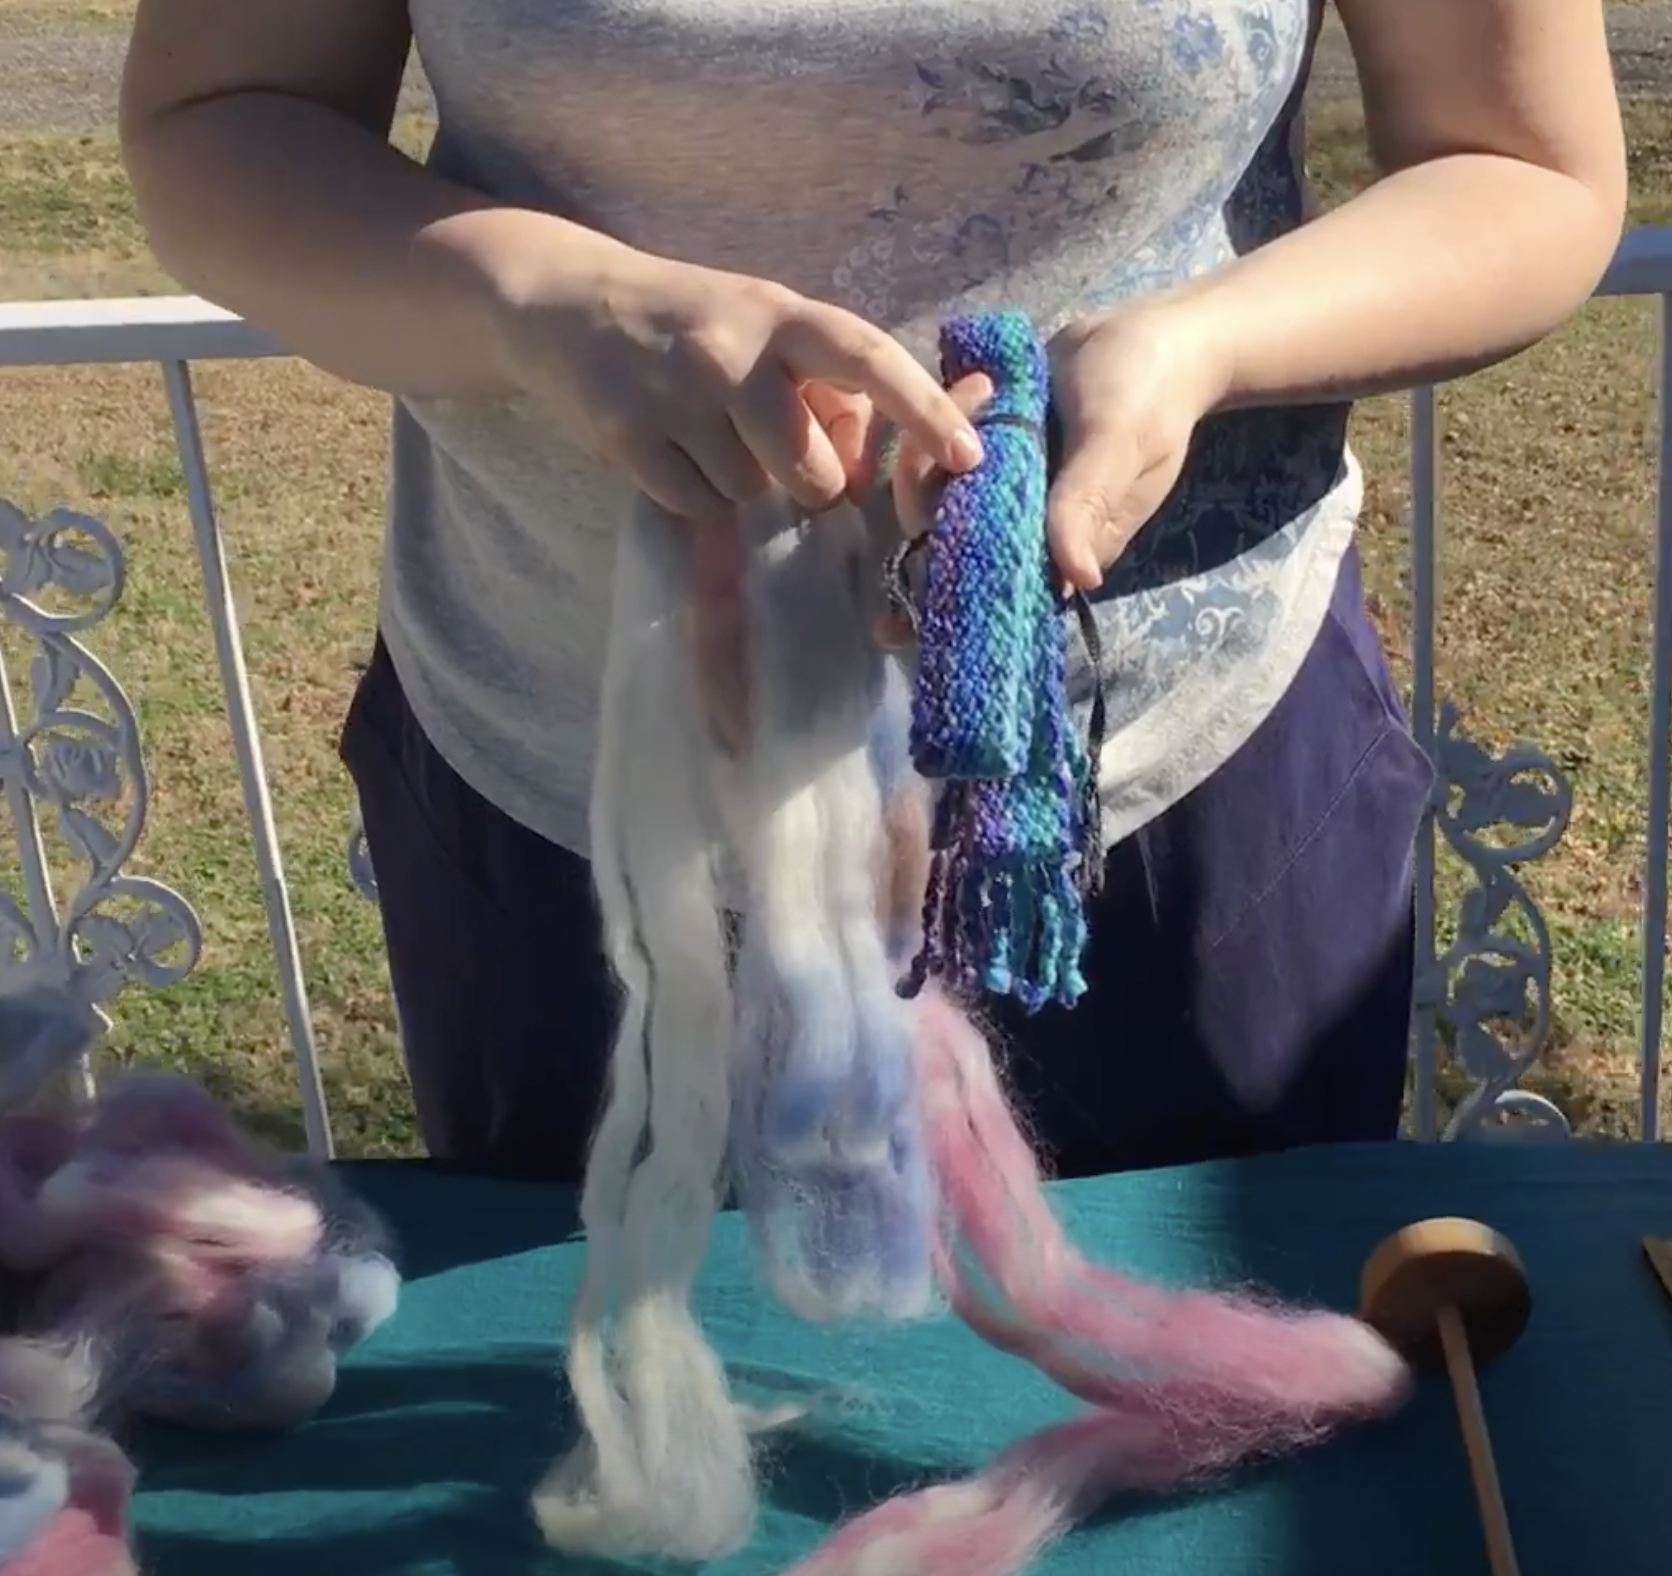
As seen in these pictures the first step she took was unbraiding her roving all the way and then pulling the roving into long strips.
Next she pulled the long strips into sections broken at the color changes to section out her color breaks.
You could choose not to do this if you weren’t looking to have your yarn sectioned by color.
Both looks would make for a lovely final belt it’s just a preference.
If you’re doing color blocked sections, pick which color you want to start with and gently predraft each section by pulling slightly to loosen up the fibers.
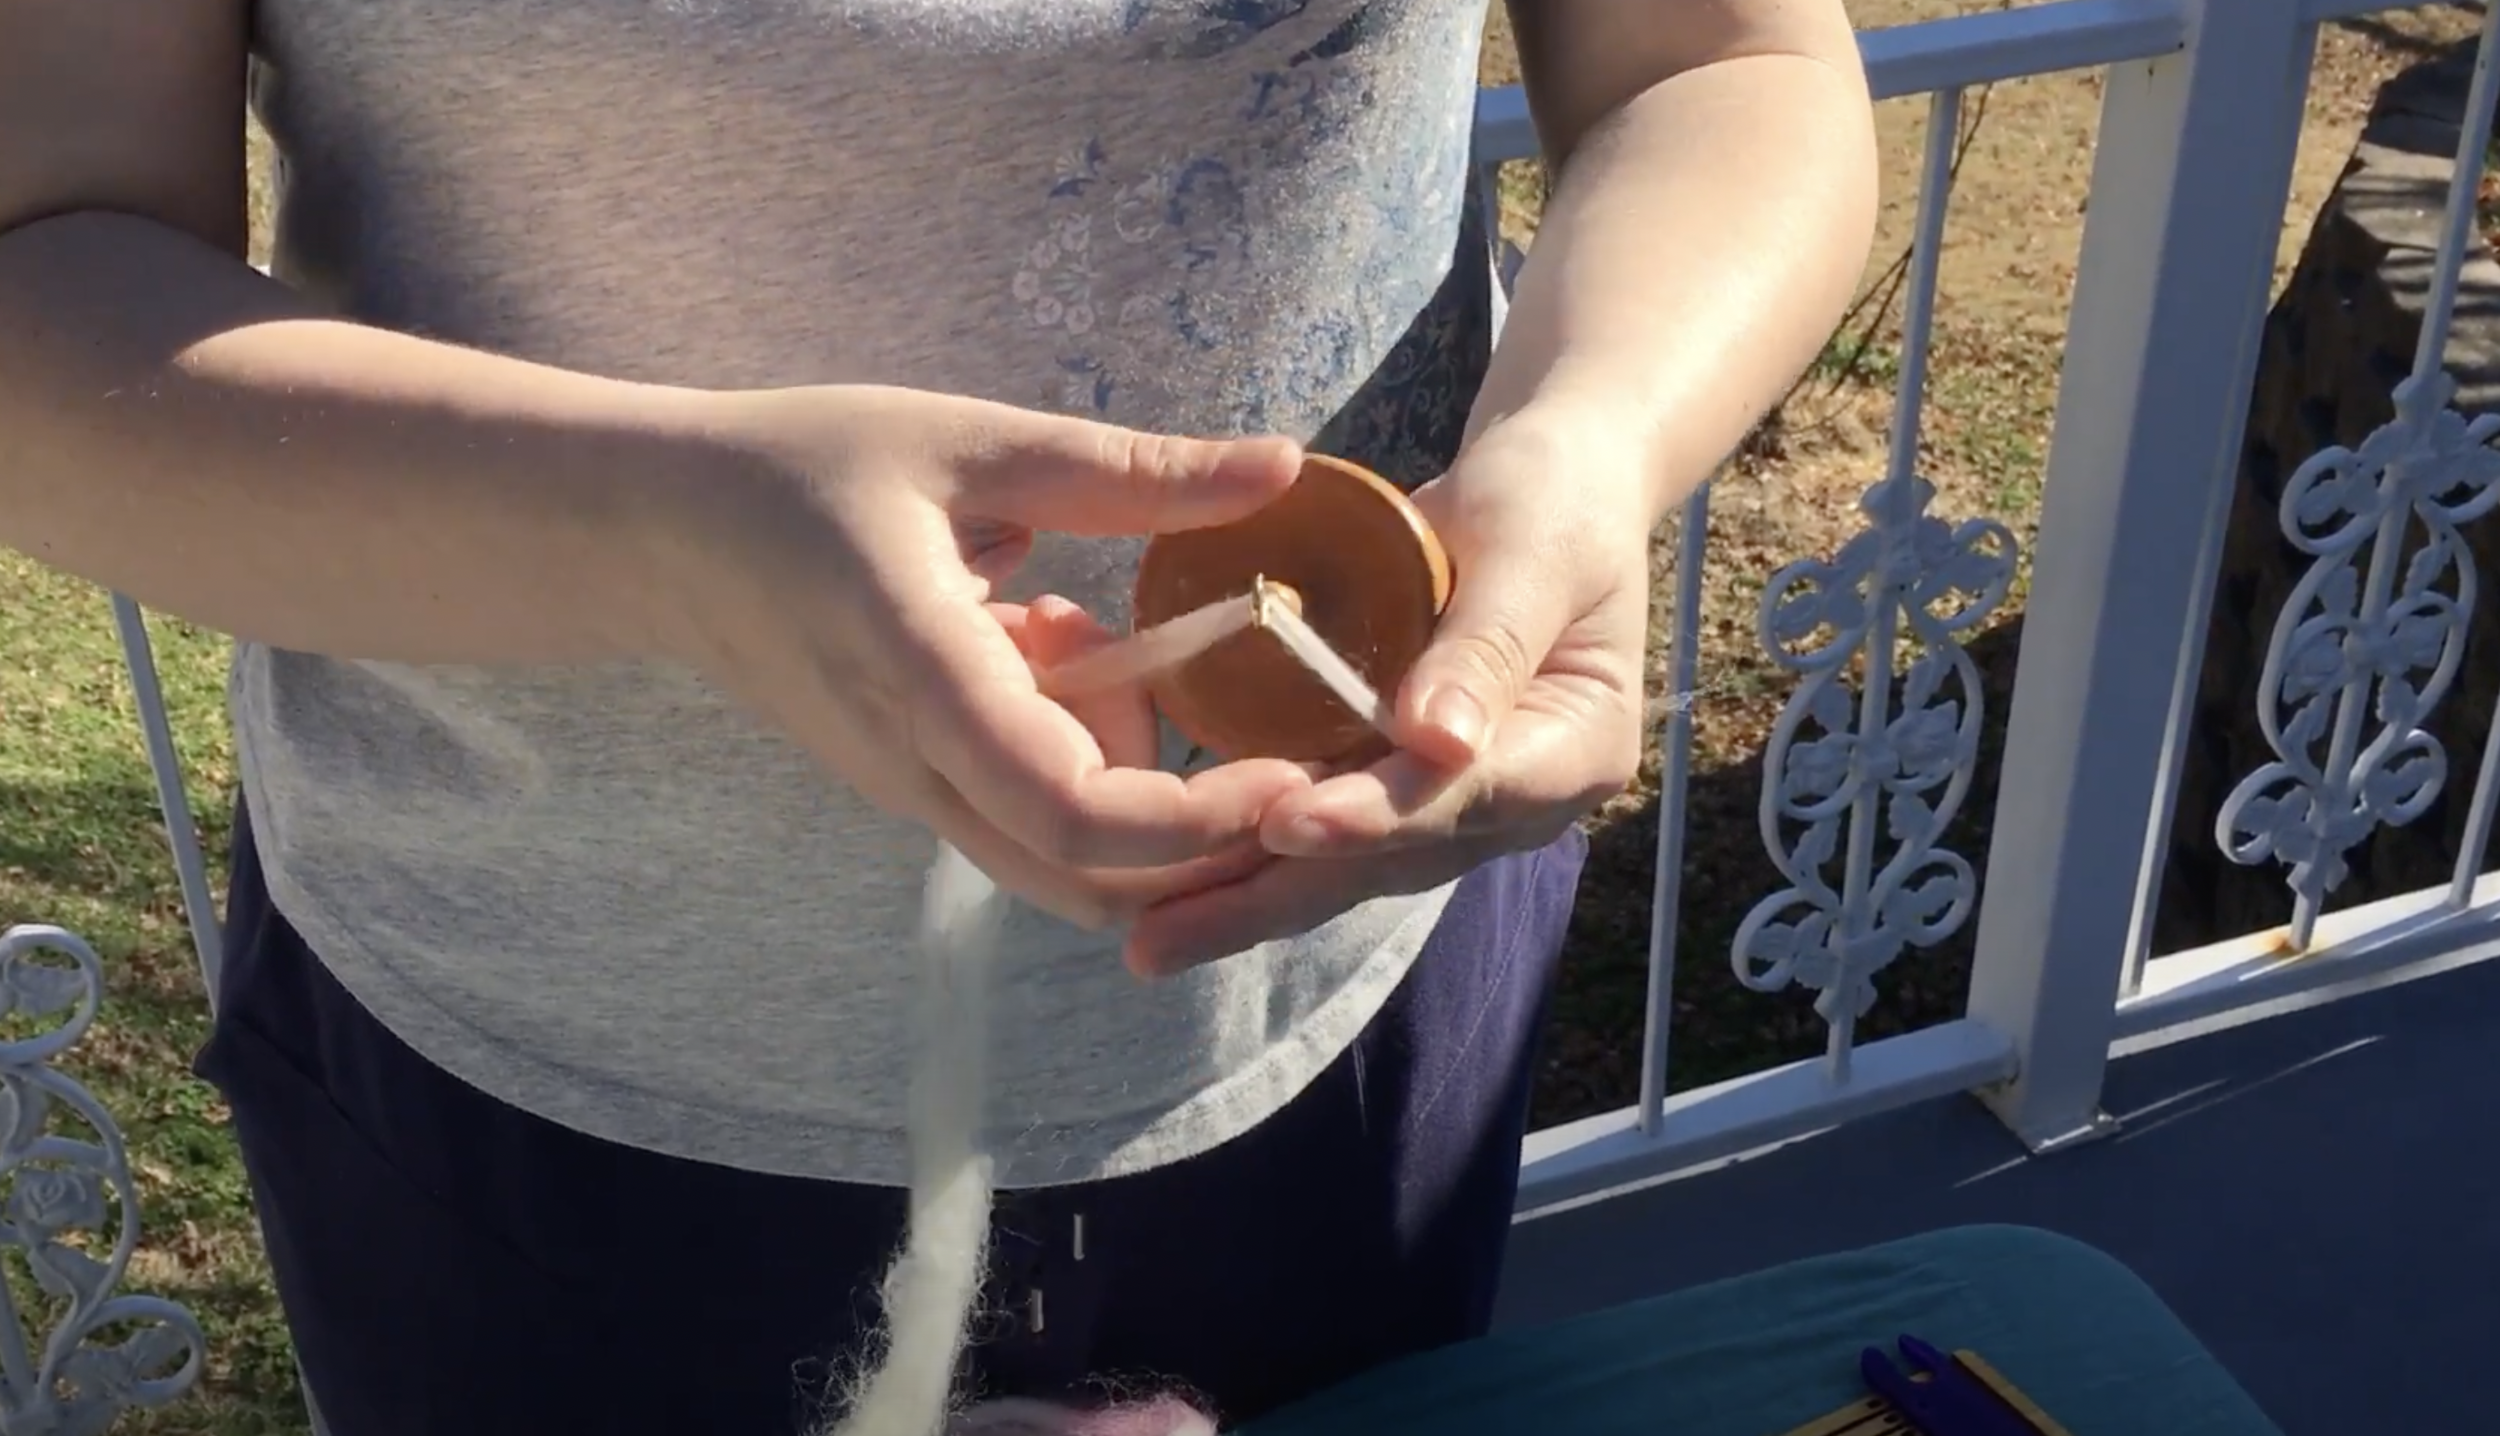
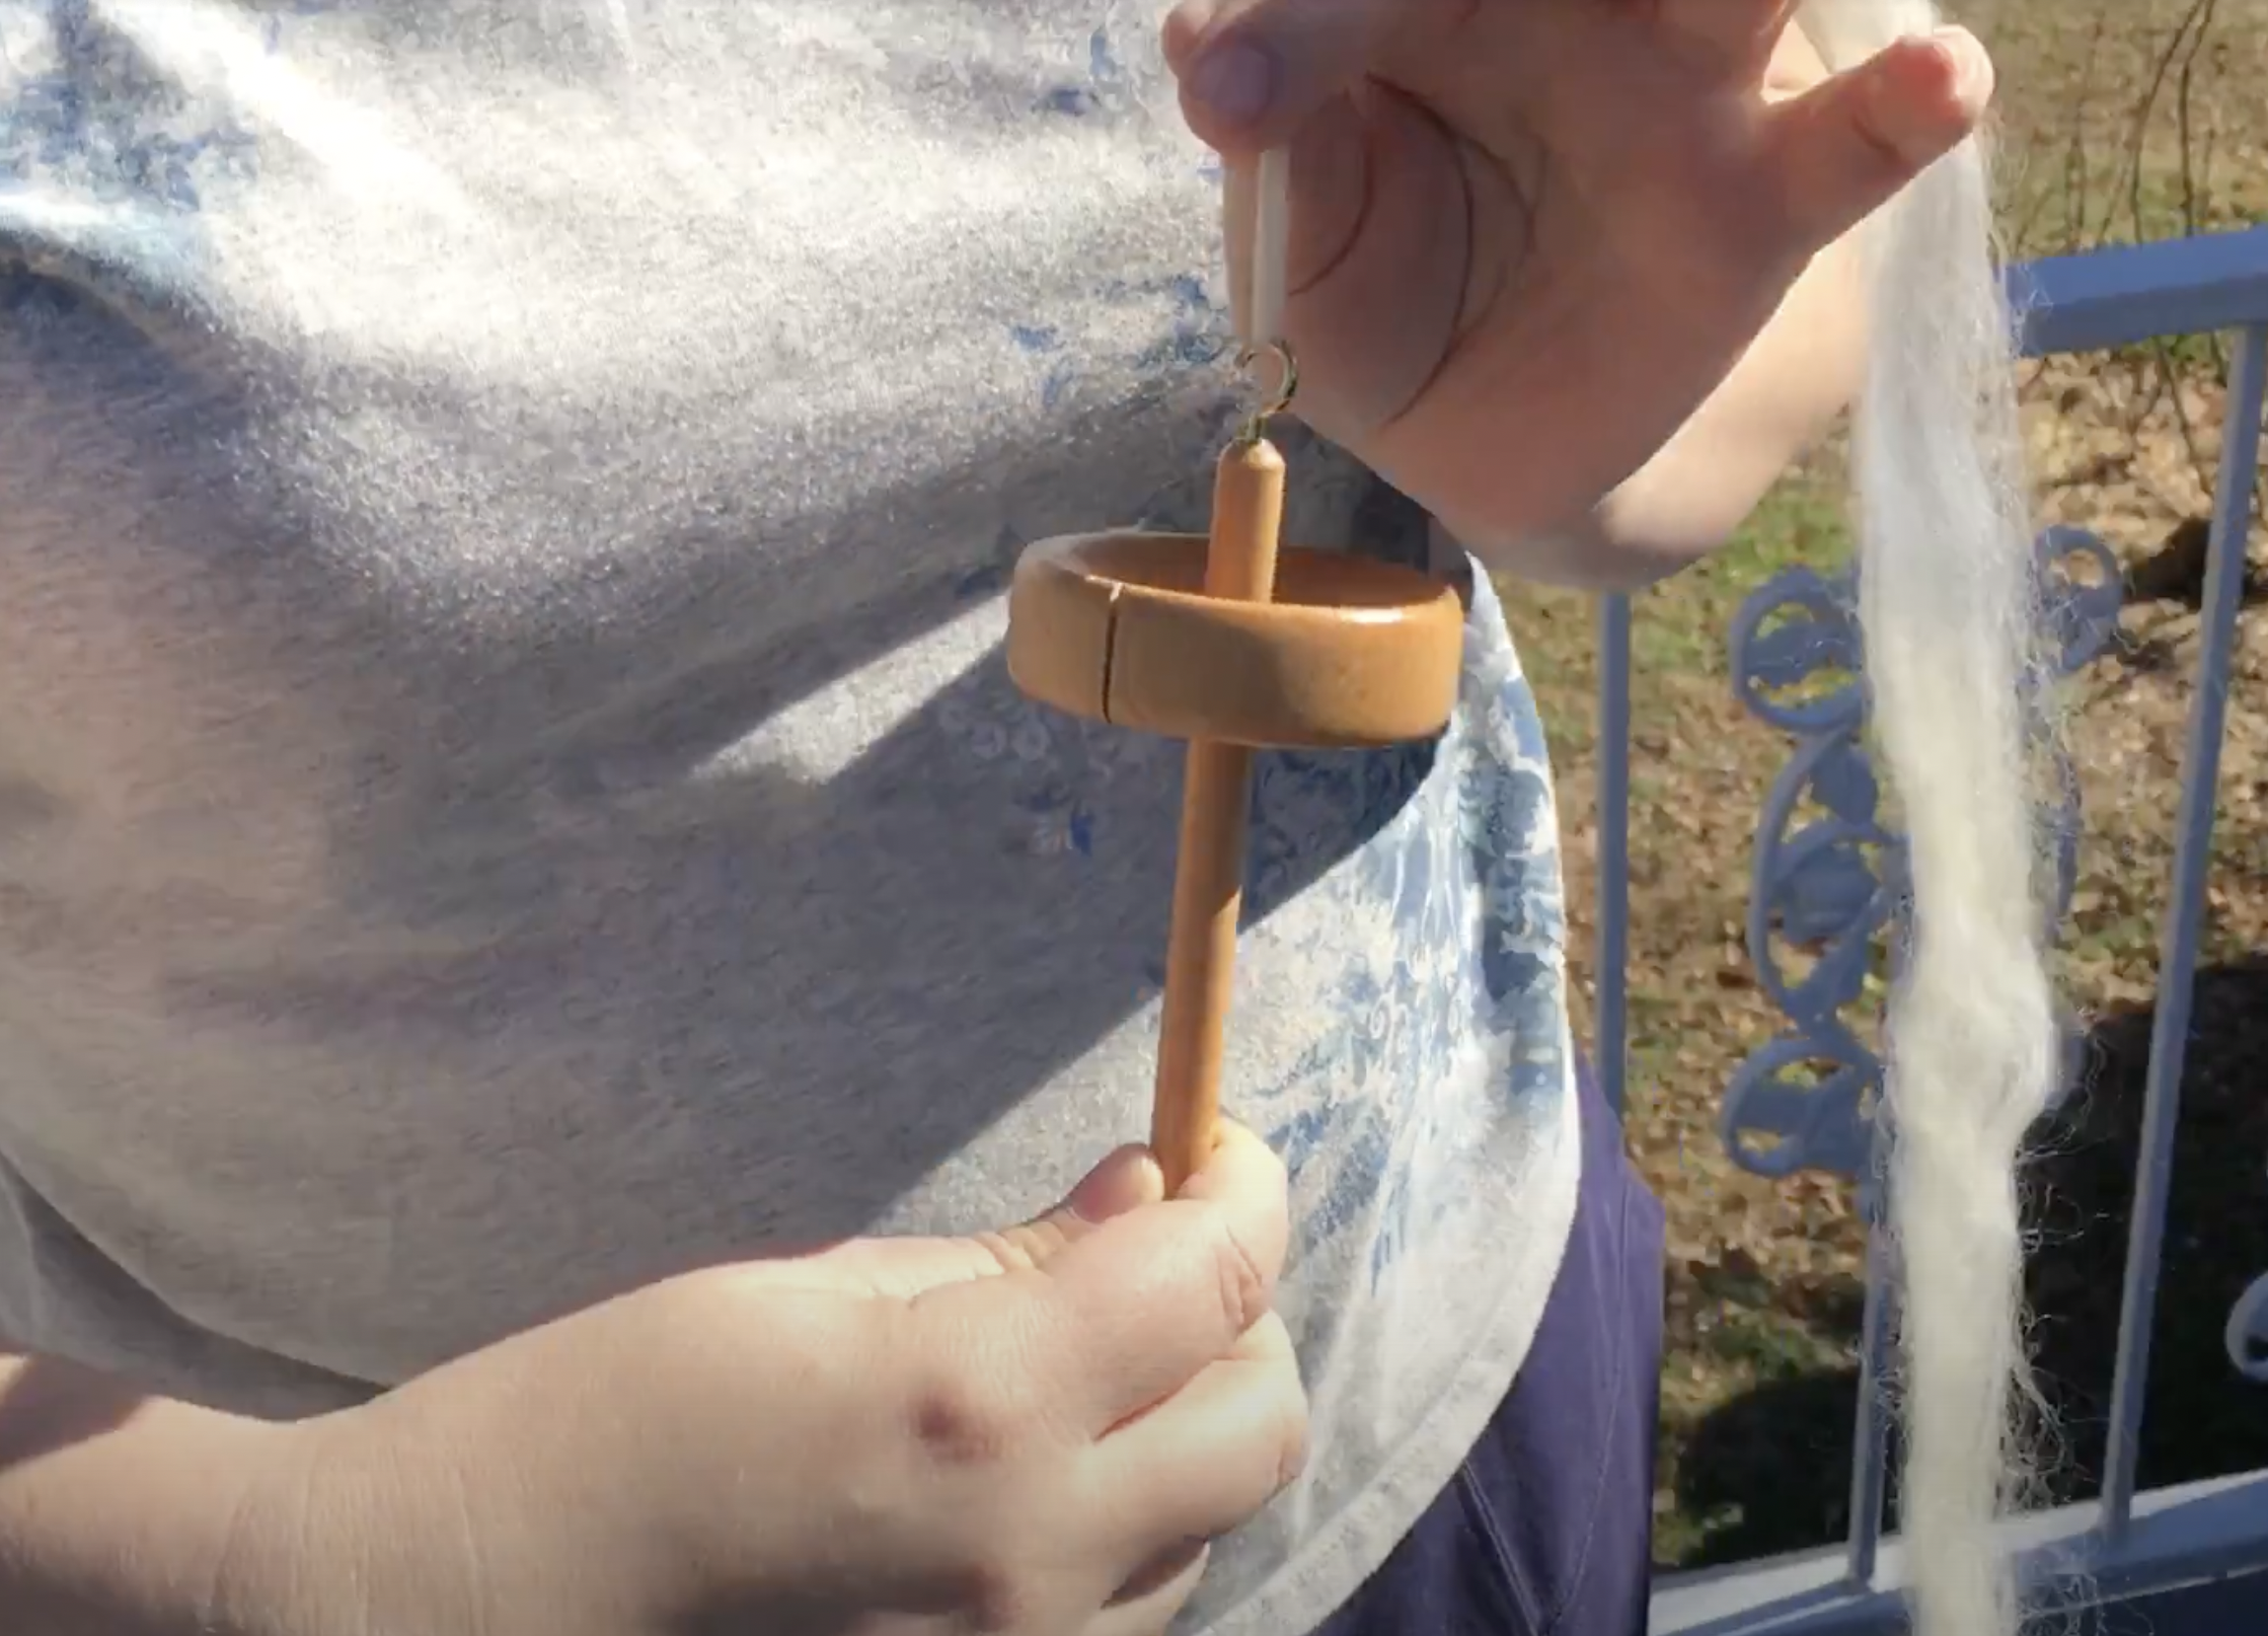
If you are using a drop spindle the first step you’ll want to do is sandwich the fiber with one end around the hook and then twist enough to build up some tension.
You’ll need to have enough “ rough twisty yarn “ to bring it down and wrap at least once around the rod under the whorl and then bring it back up to the hook.
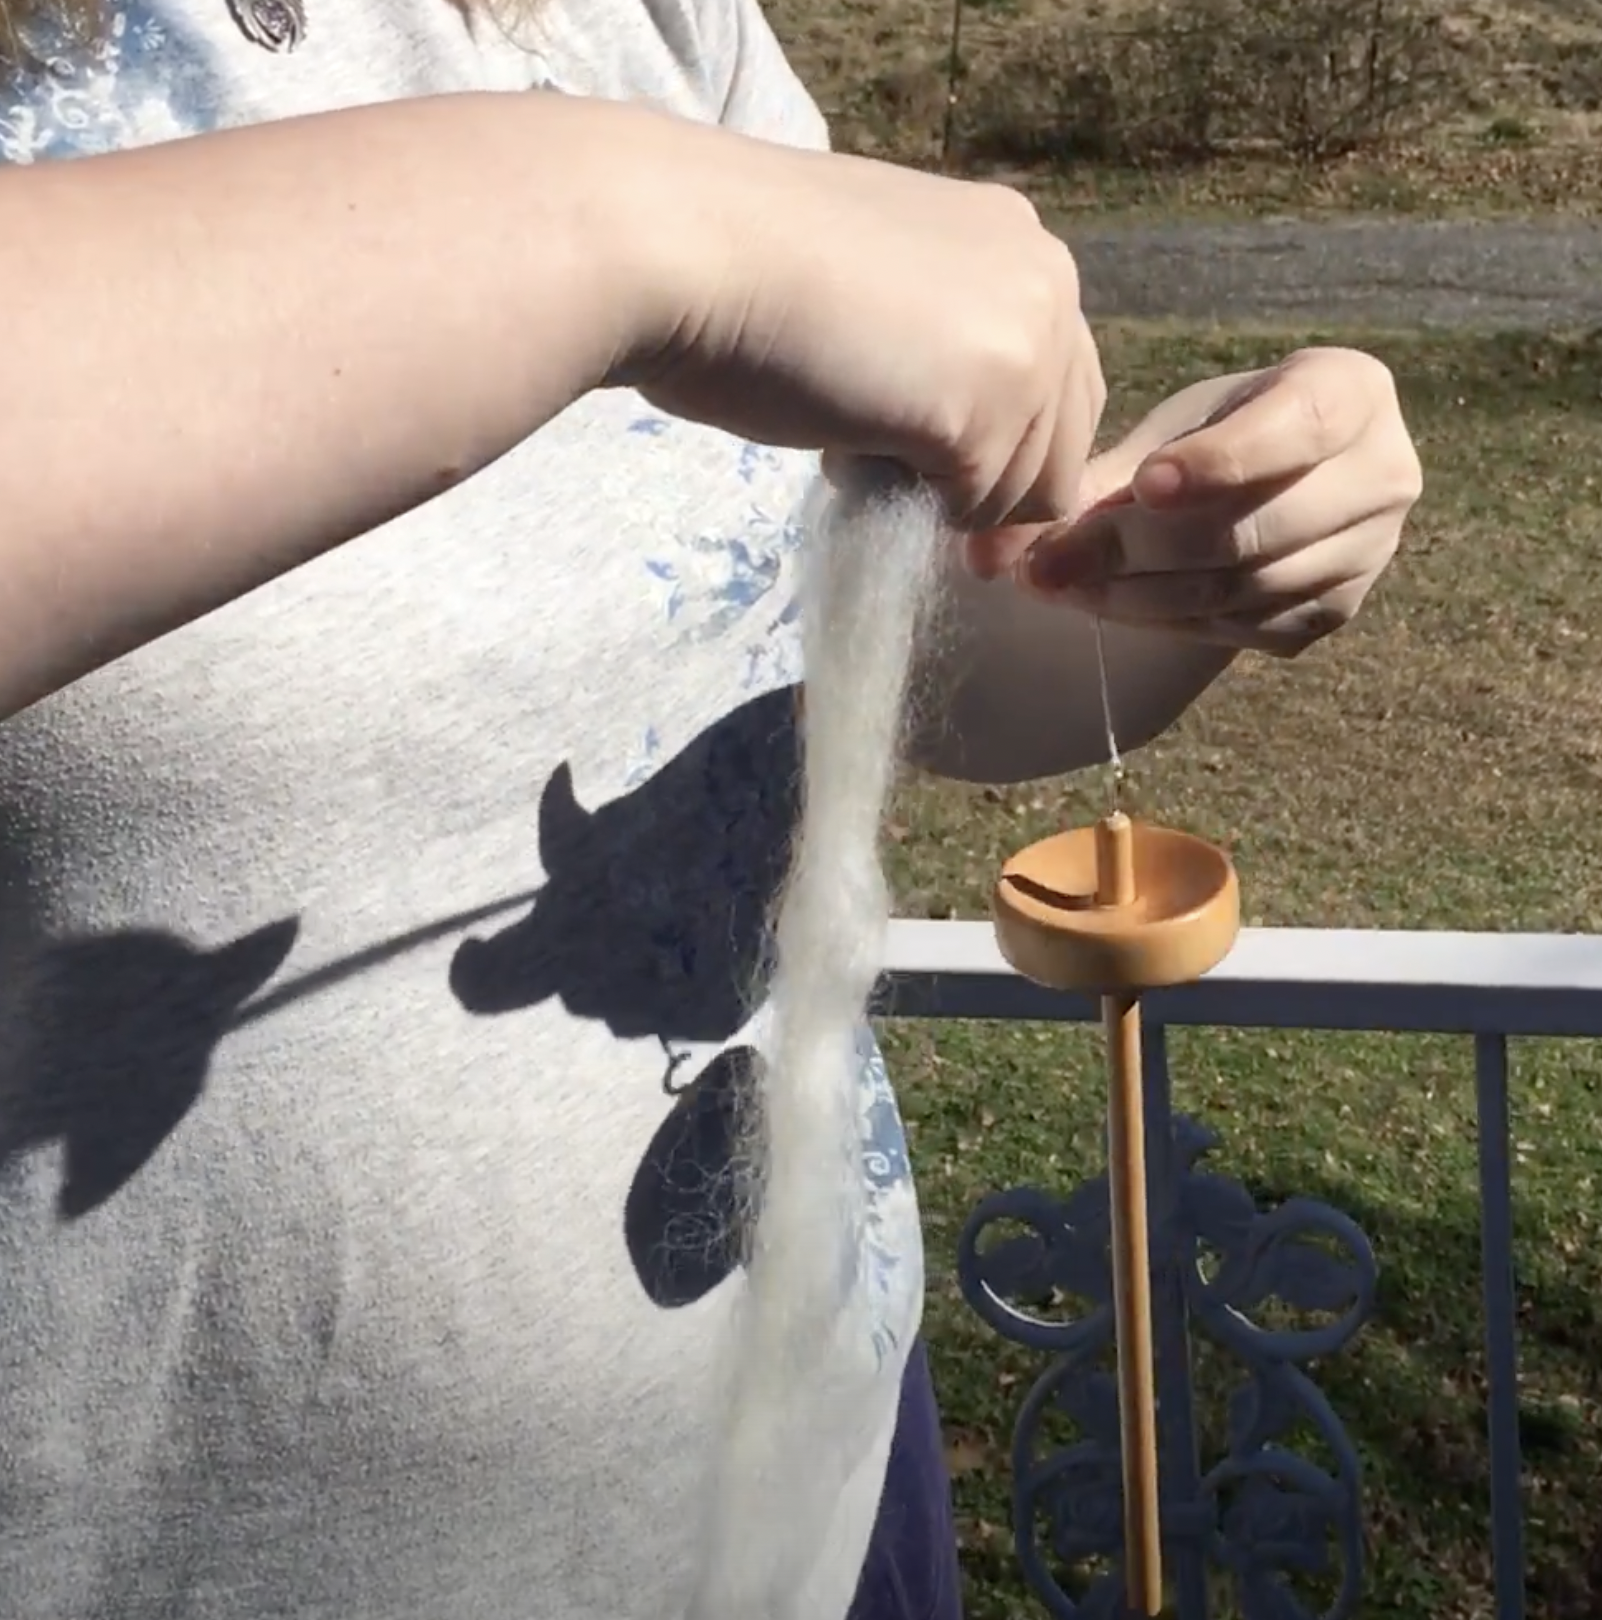
Once you’ve made yourself a leader thread in this manner you’re good to go with spinning you’re yarn in a finer more practiced manner.
For this project you’ll want to spin a fairly fine even yarn as much as you can. It will be woven so it can have slight variation , have fun with it.
If you’d like some free help with drop spindling check out this video from my YouTube Channel.
I hope you have enjoyed this part one overview of learning to weave a belt from your own hand spun yarn. Please make sure you check out the connected blog post in this series found for free in the blogs section of this website.
The Yarn Skein Collective An exclusive, ever-growing vault of fiber arts guides, tips, and resources—curated from years of limited-time offers, workshops, and course bonuses. Now permanently housed on-site, free to access. Sign up to explore and get notified when fresh content drops. It’s for fiber besties who want to stay inspired and in the loop.


